No matter where you are someone’s going to have some analog photography tips to share. But when that someone is the one and only Joe Greer? You better listen up! Joe covers everything from choosing the rigth film stock to embracing your mistakes. Hit the jump for more!
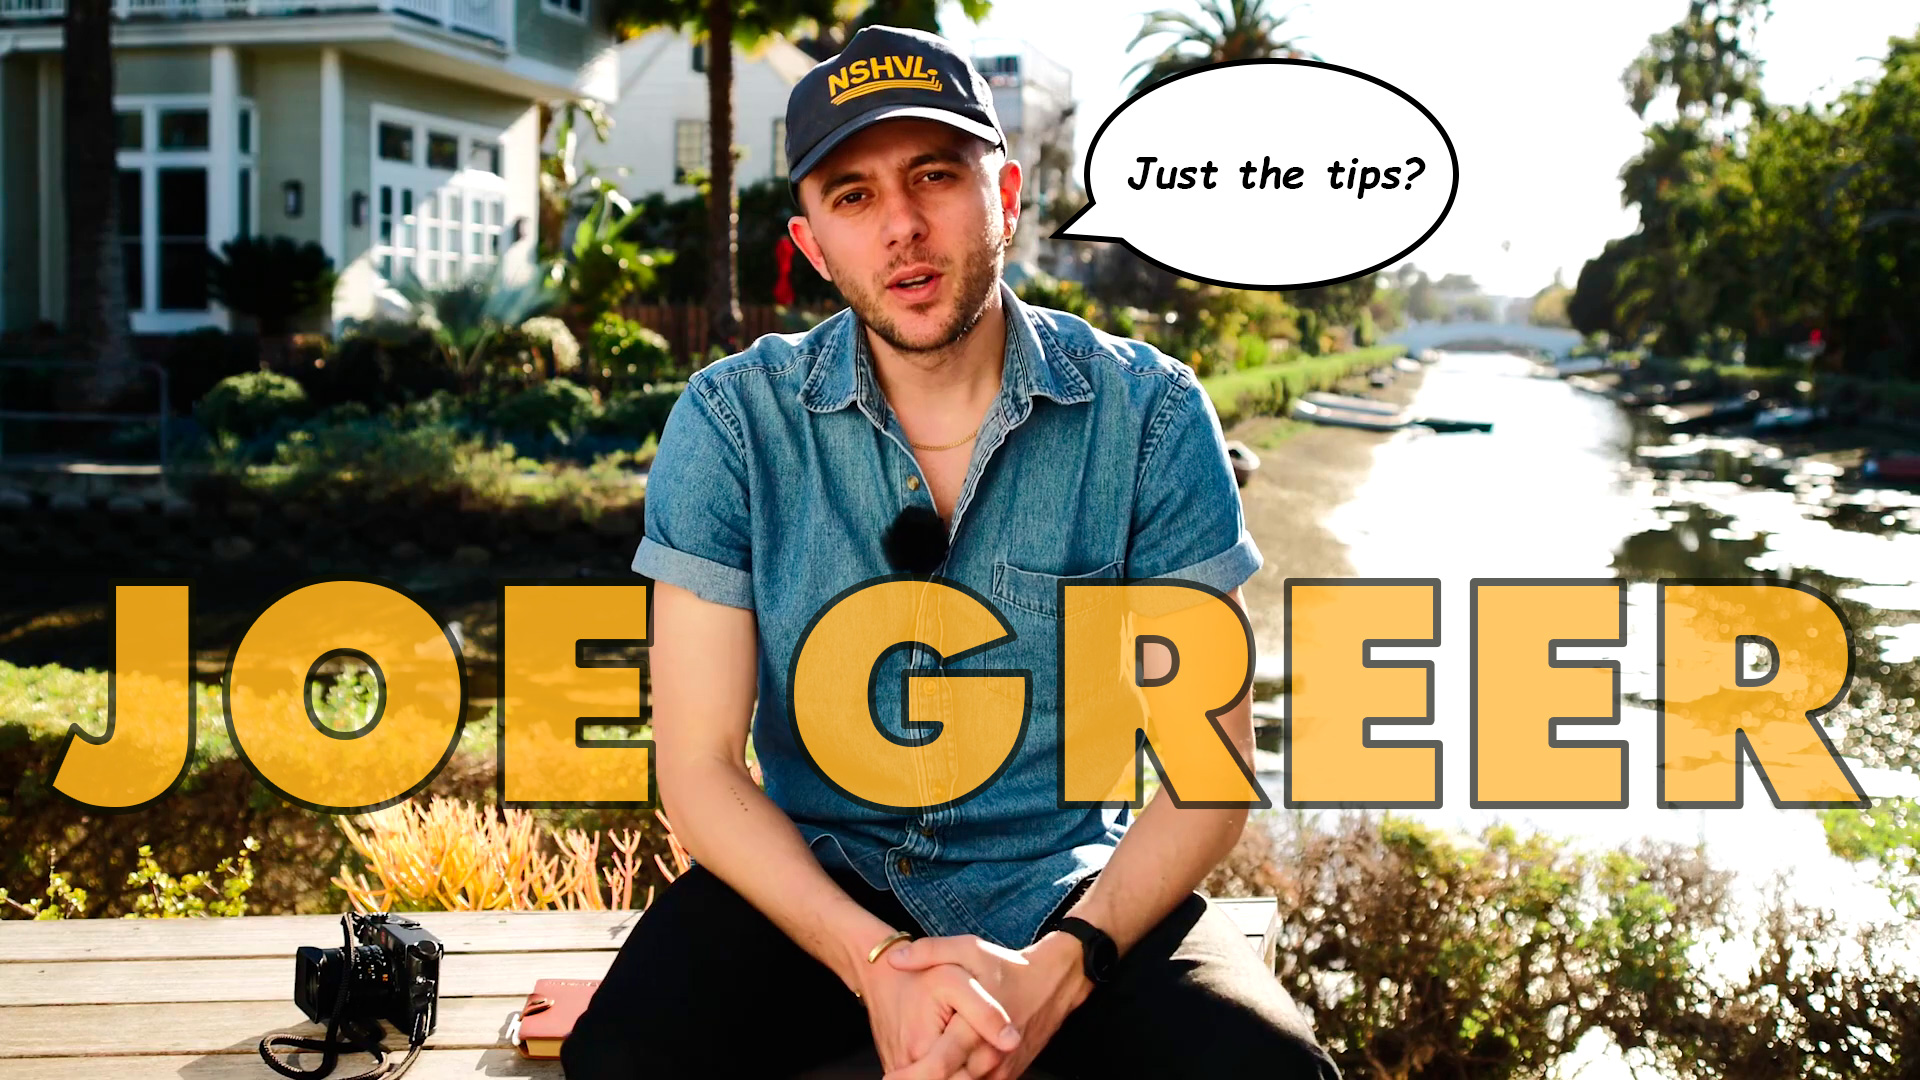
Joe Greer’s Analog Photography Tips
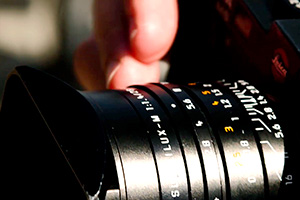
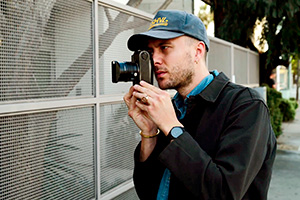
You might remember Joe Greer as the guy in the launch video for Leica’s recently re-released (and quite fabulous) M6! He’s one of the few working street photographers still shooting film which automatically gets him street cred. But on top of all that he’s just a really good photographer. I know, sickening, right?
Joe’s tips seem to be geared towards beginner film photographers. But even if you’re more advanced it’s great to see an established photographer like Joe Greer talking about his process!
1. Keep A Photography Logbook

The first analog photography tip Joe suggests is to keep a photography logbook. Manual exposure can be a lot to learn for beginners and keeping a record of your exposures settings for every shot lets you revisit each shot to see the mistakes you made as well as the good photographs you made. This will be super helpful in understanding your own rythms with analog photography.
Myself? I don’t really keep a logbook of every exposure anymore (I’ve been doing this for soooo damn long!) But I definitely keep a more casual shooting journal in a Field Notes notebook. I just like to keep track of things like what street I was on at what time of day when the light was so amazing? Or the email address of the guy in that amazing street portrait? Great for all the little things I need to remember…
2. Choose The Right Focal Length
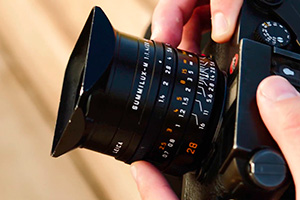
Joe’s second tip is not know your location and choose the right focal length. This is important because he recommends spending some time to understand your environment and the statement you’d like to make before you pick what lens you’re going to use. It’s super important that your lens matches the vision and story you’re trying to tell.
Myself? 35mm is the perfect focal length and the only lens I have on my M6. There’s just something about 35mm that perfectly matches the way my mind sees the world. But this comes from decades of shooting experience so Joe’s tip still makes a lot of sense. Take your time and discover your vision.
3. Choose The Right Film Stock
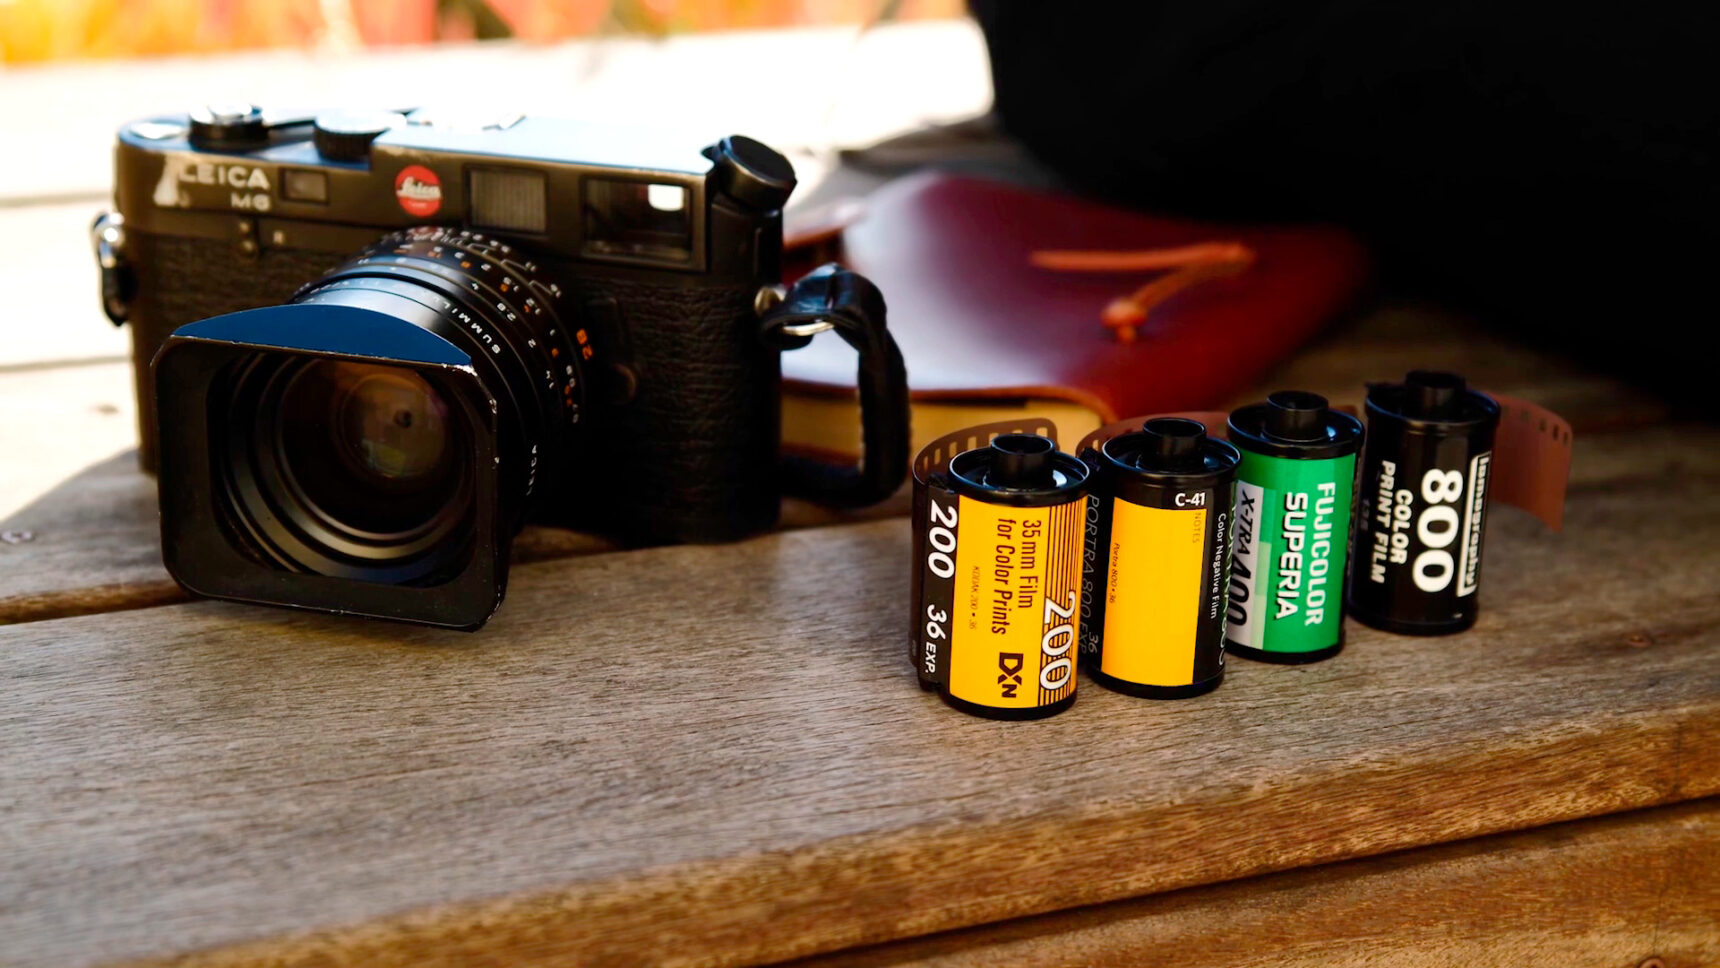
Joe’s third analog photography tip is to try as many different film stocks as possible until you find the one that matches your vision. There aren’t quite as many options for film stocks now as when Joe made this video but the point remains… If all you do is shoot black and white and never ever try a roll of Portra 400 then you’re missing an essential experience.
Myself? When I think film I typically think in terms of black and white. Specifically Ilford HP5 Plus. It creates gorgeous images with beautiful hightlights and rich silver midtones. Plus it’s way cheaper than shooting color film. I mean, I’m not made of money!!
This being said, rolls of Portra 400 are always on my Xmas list!
4. Over And UnderExposing Your Film
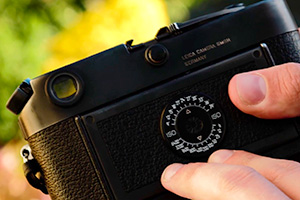
Joe shoots color negative film and he almost always overexposes by a stop or more. Color negative film compresses the highlights instead of clipping them and a lot of photographers prefer the look when they overexpose their negatives. But whatever you do, don’t underexpose your negs. That just creates a mess!
Myself? I agree with Joe and typically shoot about 2/3 of a stop over box speed for most color and black and white negative film. But it’s a balancing act. I use a hybrid darkroom workflow where I scan and digital print my negs. I find that scanners don’t always love super overexposed negs. So you have to find the right exposure that compliments your workflow!
5. Make Mistakes

Joe’s fifth analog photography tip is to not be afraid to make mistakes. Film photography is crazy expensive and it’s easy to start worrying about the cost of every frame and never taking a single shot. Joe says throw that out the window. Be aware of what you’re shooting but embrace the beautiful imperfections as an essential part of becoming a better film photographer.
Myself? Much like Mary Poppins, I’m practically perfect in every way. There was one time when I thought I made a mistake. Turns out I was wrong. Unless you count the dozens of terrible shots I take before I finally get a decent one.
6. Aperture
Joe’s a street photographer so he suggests using a higher aperture when shooting. Street photographers like a lot of depth of field so they can zone focus and never have to worry about focusing as part of the photographic process. Zone focus is the way. And the truth. And the light. Do it!
Myself? I’m 100% on board with this. The old photography saying, “F8 and be there!” is pretty much saying give yourself enough depth of field and you’re free to concentrate on the moment rather than fiddling with your lens before every shot. Zone focus FTW!
7. Forget The Tips
Joe makes a good point here. You have to know the rules to break the rules. And you have to break the rules if you’re going to say anything new with photography. But you still have to take a lot of pictures to discover your own voice in photography. So stop worrying and get shooting!
Myself? I don’t really keep a set of rules in my head when I’m shooting. I know the kinds of subjects that interest me and I approach the world from my own perspective without any cheat codes. I’m not sure if that means I’m following or breaking the rules but it works for me!
The Last Word
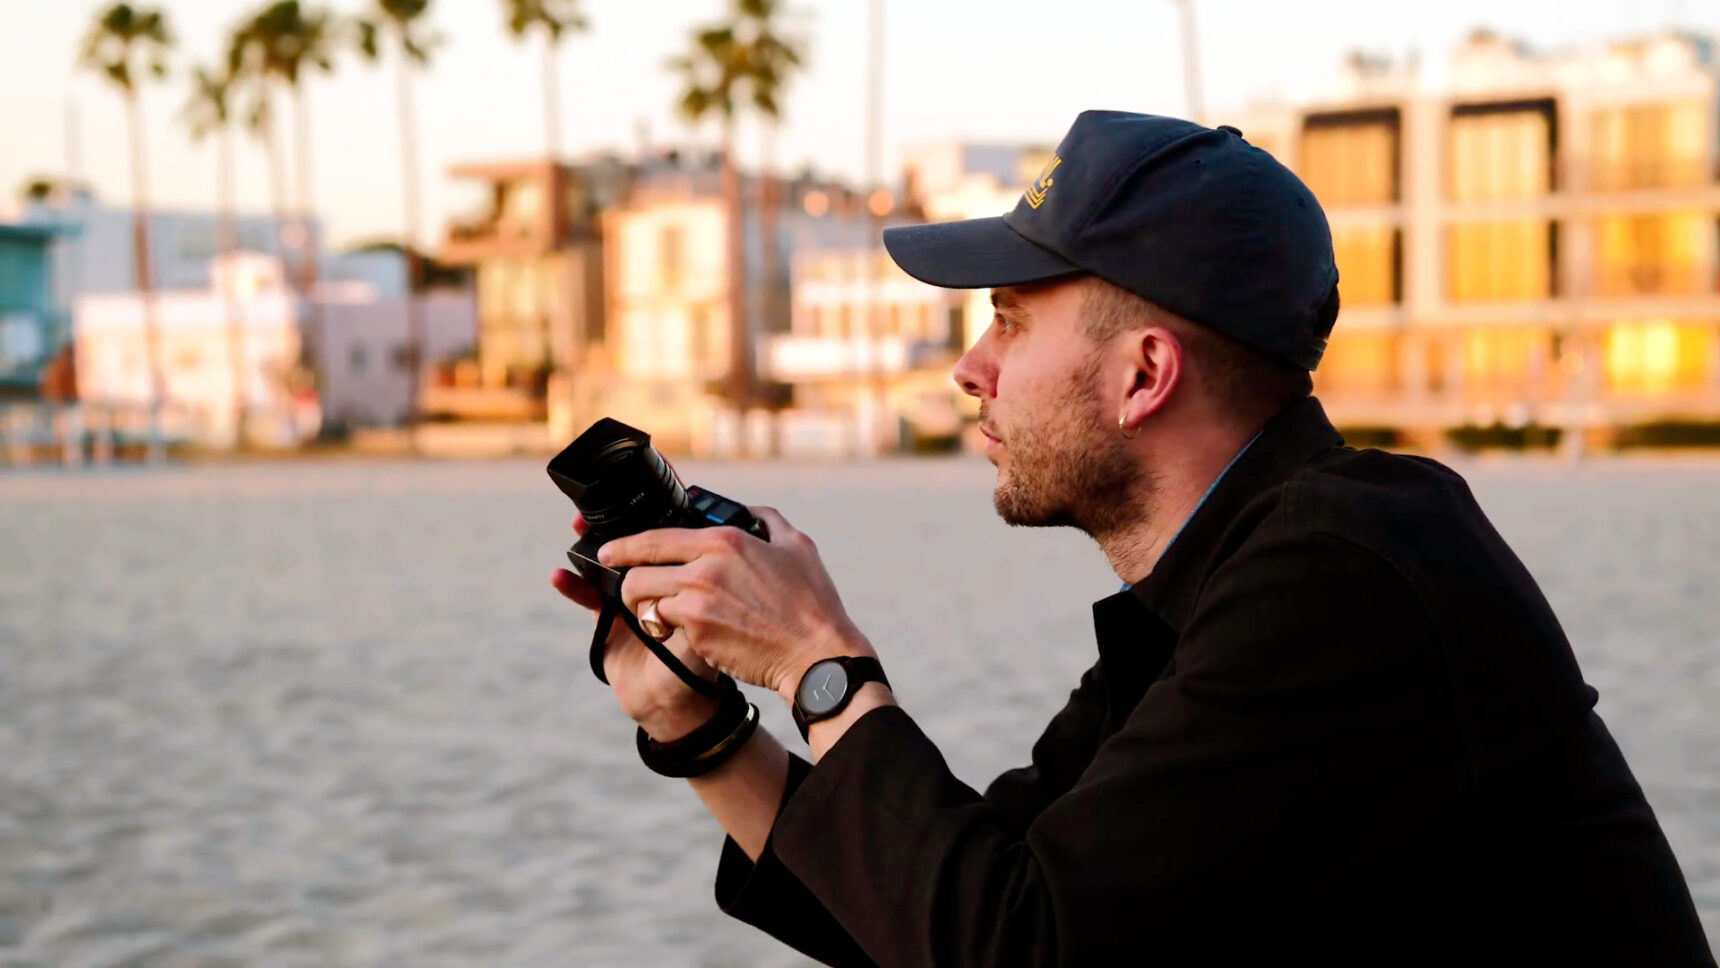
Joe’s seems a like a down to earth and genuinely likable kind of guy and that alone makes this video fun to watch. But let’s be real here for a minute. Joe’s analog photography tips are mostly for complete beginners to photography – never mind analog photography!
In the end I guess there was “just” enough footage of Joe shooting in his natural habitat while talking about his craft to keep this interesting. I really wised there was more content about his process and how he approaches street photography as a film photographer… But you can’t win ’em all!
What’s your take on Joe Greer’s Analog Photography Tips? Did you find them helpful? Or are they a little too basic for more advanced photographers? Post your ideas in the comments below and keep the conversation going!