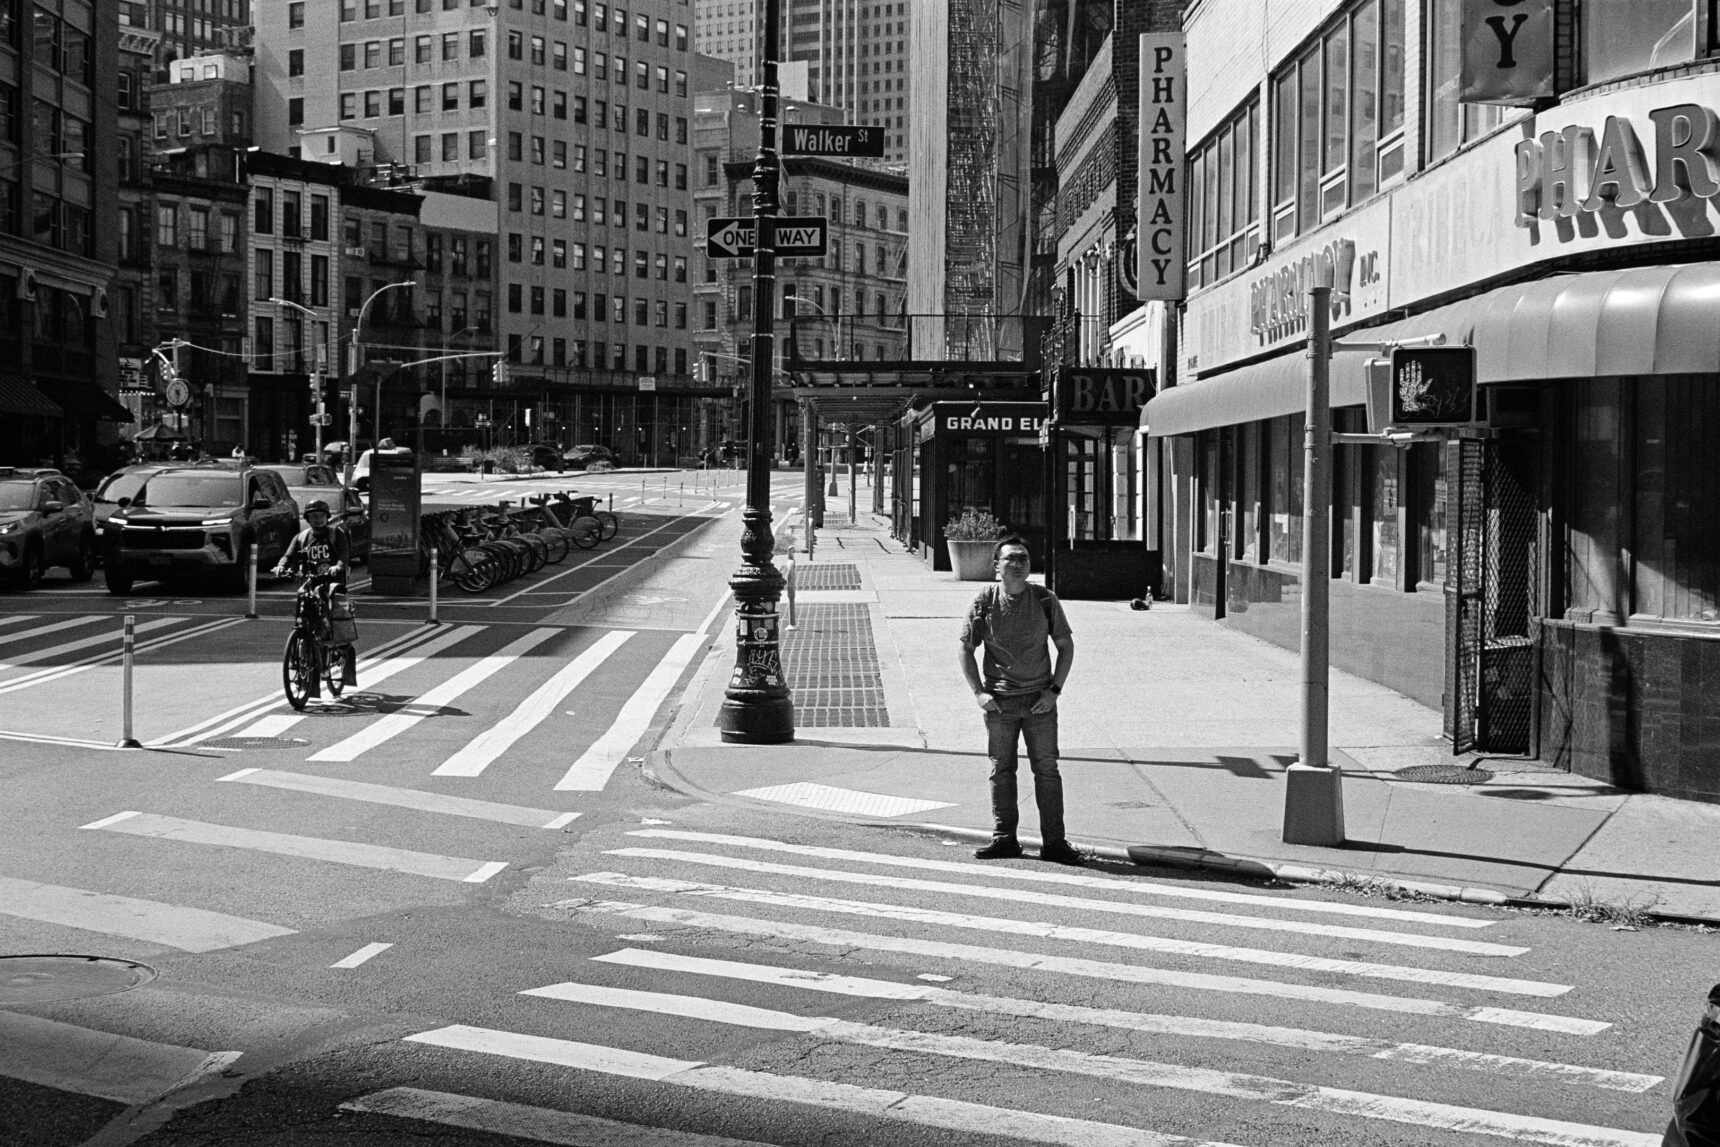
Every street photographer dreams of shooting in NYC so when I had the chance to spend a weekend in the Manhattan I jumped at the opportunity! It was three solid days of film photography goodness and I learned a few things along the way. Hit the jump for more info!
NYC Film Street Photography Weekend
There’s something about shooting street photography in New York City that captures the heart of every street photographer. It could be the heritage of excellent work that has been shot in NYC. Or maybe the beautiful light created as the sun bounces off the countless buildings that line the city streets… It’s a wonderland!
But there’s lots to consider before planning your own NYC film photography trip so here’s a list of the 6 things I learned after 3 days of hardcore film photography in the big apple.
1 – It’s Now Now Or Never
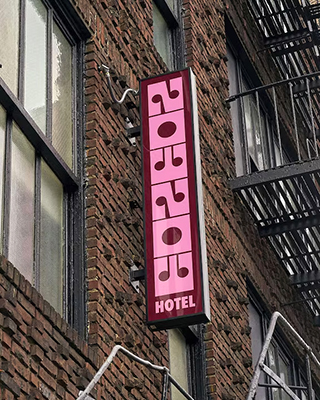
NYC Hotel prices are insane – even two star hotels in Manhattan can cost between $300 to $500 USD a night! But at some point you’re going to have to bite the bullet and pick something. Fortunately I found a decent place to stay that was reasonably cheap and super clean with a great vibe.
It’s called the Now Now NoHo and it bills itself as a Sleeper Cabin Hotel located on the Bowery, in the heart of Downtown Manhattan. This quirky little hotel is nestled in a dynamic neighborhood between Chinatown and Washington Square. There’s plenty of shops and restaurants and it’s only steps from the F train if you want to go to Coney Island. But more on that later!
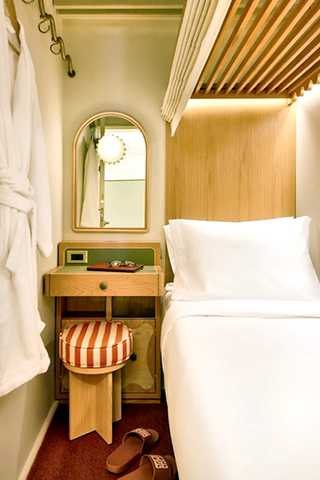
You may have noticed Now Now calls its rooms cabins. And they’re tiny. Each room is pretty much a bed and enough room for one person to stand beside the bed. There’s also shared bathrooms with enough individual locking toilets and showers that I never had to wait to use one.
To get around zoning by-laws the ceiling of each NowNow room allows sound to travel from other rooms and halways into your cabin. Forunately everyone there is in the same boat so people were pretty quiet. Think of this as a kind of high end hostel where you have your own locked room and you get the idea.
I’d definitely stay there again!
2 – Keep It Simple
I’m a one camera, one lens and one film kind of shooter. This might seem limiting to some people – I mean, why wouldn’t you bring enough gear to be prepared for anything on an expensive trip to New York City?
To be fair, most photographers only use a single camera at at time. And using a single focal length eliminates distraction and creates a common visual language between my shots. Ralph Gibson calls this the “visual signature” of the lens and it has a positive influence on both the process of shooting as well as the final product.
There are actual aesthetic reasons to only shoot with
Plus, you don’t want to be lugging around a crap-ton of gear that you’re probably never going to use. Keep it simple. And get out there and shoot already!
Here’s my NYC Film Photography kit:
My Camera
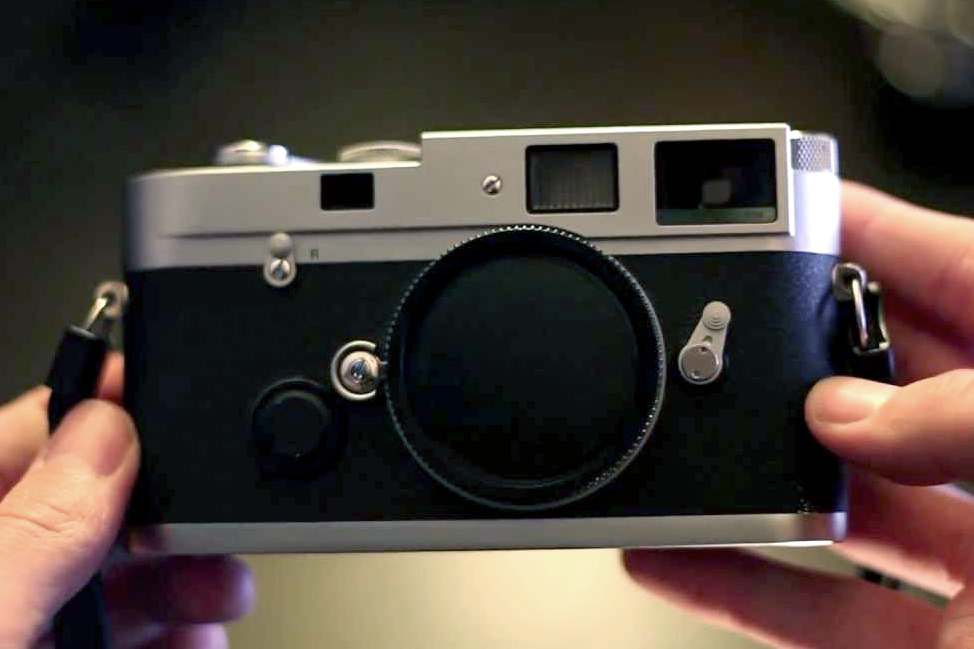
My film camera of choice is a Silver Leica MP.
And before you get all up in the comments hating on Leica cameras let me just say you can use whatever camera brand you like. This just happens to be the camera that I’m using. Ya, it’s expensive. Get over it.
The important thing for me is to use a rangefinder.
Rangefinder cameras are portable and quiet. And the optical viewfinder allows you to frame your shots in a unique way that is perfectly suited to the kind of street photography I shoot. But you’re welcome to use whatever kind of camera you like.
My Lens

My go-to lens is the Leica Summicron-M 50mm V5.
This legendary lens produces images with exaclty the right amount of sharpness and character. The latest version of this lens (V5) has been in production since 1994 and its optical formula has remained unchanged the entire time. Simply stated, you don’t mess with perfection!
It’s a heck of a lens and it lives full time on my camera.
My Film
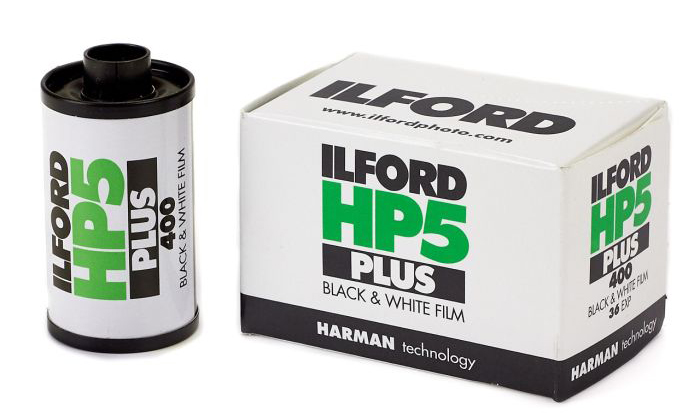
My film of choice is Ilford HP5 Plus. Full stop.
HP5 produces rich, silvery images with a unique midtone contrast. This creates a characteristic look that’s instantly identifiable without being overbearing. Plus it’s typically 20-30% cheaper than the Kodak alternative. And if you’re crazy like me, you can get a 100 foot roll of HP5 and bulk load your own cassettes and save even more.
Of course, you can use whatever film you like. But for me? It’s HP5 all the way!
3 – Traveling With Film

There’s a lot of anxiety around travelling with film. But people used to travel with film all the time before digital took hold. And it was never really a big problem. So what’s everyone worried about?
I think a lot of the issue is the high cost of film combined with the risk of the unknown. And a lot of photographers shoot digital when they’re travelling to avoid the fuss entirely.
Here’s a few simple film travel tips to put your mind at ease.
Airport Security
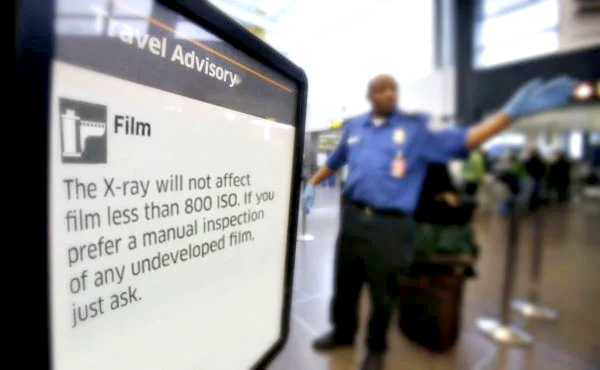
Remember to always keep your film in your carry-on and never check it. The checked bag x-ray machines are way more powerful than the ones at the security checkpoint and will ruin your film for sure!
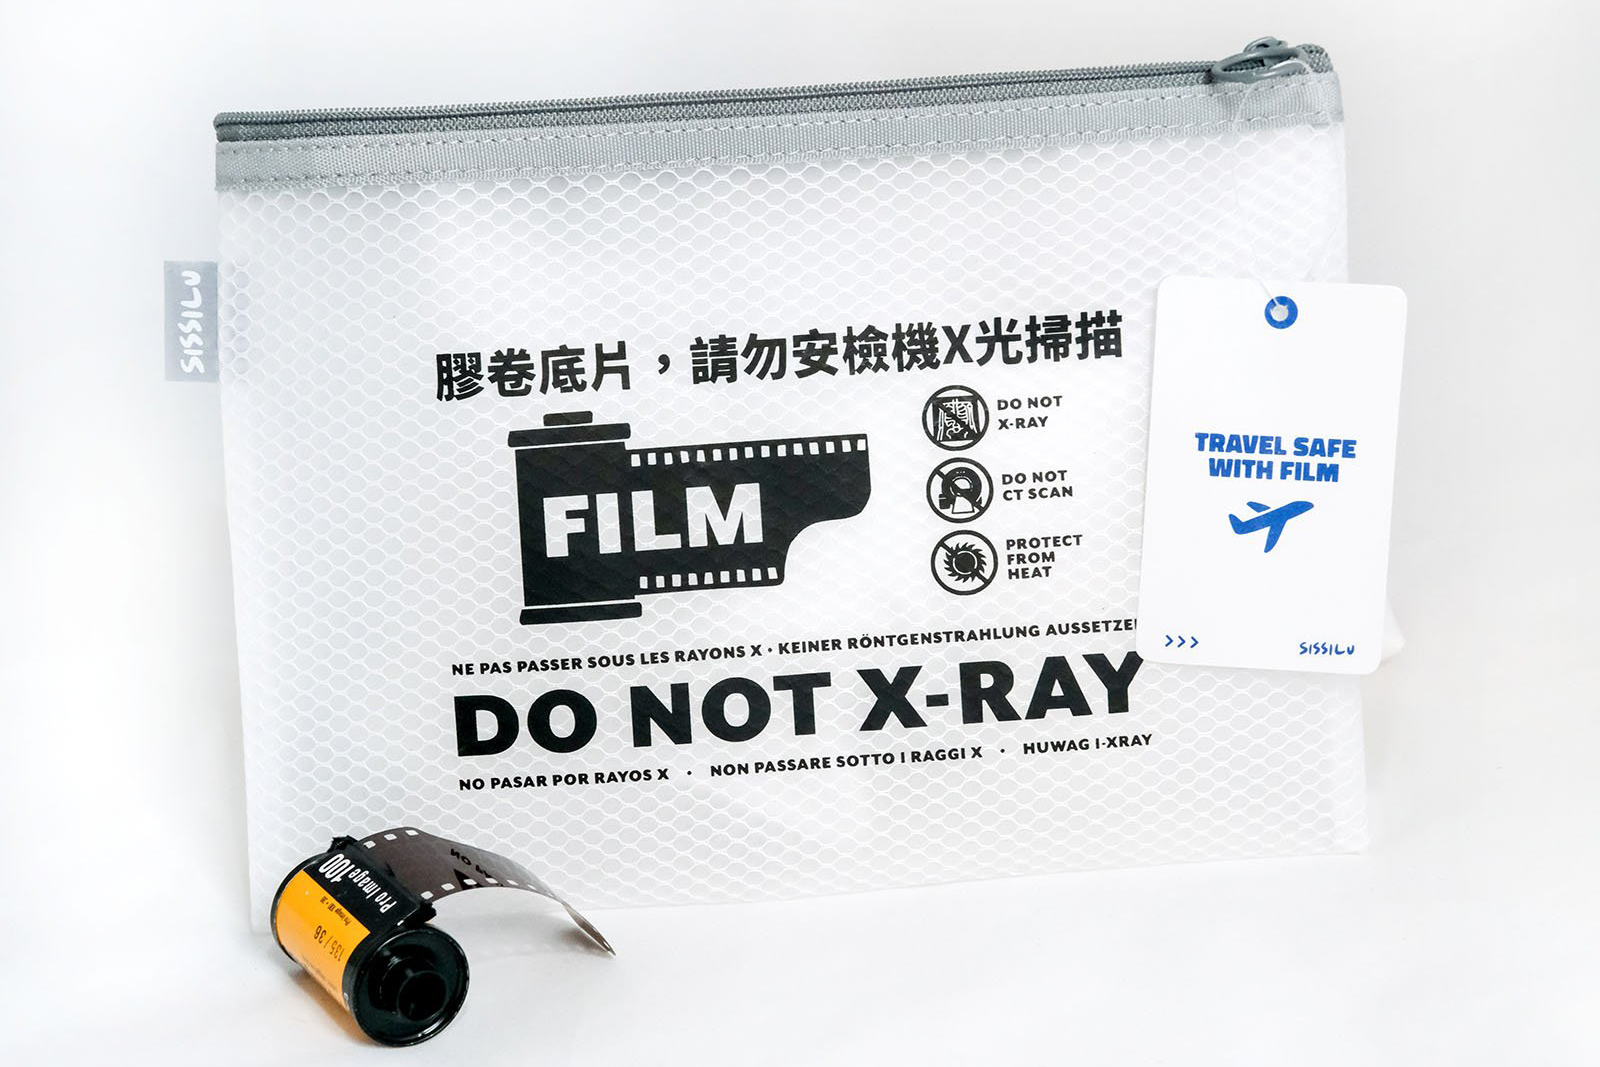
Once you’re at the security checkpoint you can request the film to be hand inspected. I pack the film in a large Ziploc freezer bag that allows the agent to see exactly what’s inside with a glance. I then make eye contact and using a friendly voice explain that I’m a film photographer and ask for a hand check of your my expensive film.
I’ve heard horror stories about agents refusing to hand check the film but so far I haven’t had an issue. If an agent asks you what ISO you’re shooting then just say it’s 1600. If the agent looks at your film and asks why is says ISO 400 on the film? Then explain that you bulk load film into old cassettes to save money. Just be friendly and with a bit of luck you won’t have any issues.
You can get ready-made products like the cute do not x-ray pouches by Sissy Lu that have warnings printed in 7 different languages. But I found that a simple zip freezer bag works great and provides enough room and make the film instantly recognizable to TSA agents.
Bring More Film Than You Need
On a good day of shooting in Toronto, I’ll go through 2 or 3 36 exposure rolls of HP5. If there’s a special event that might creep up as high as 4. So on a trip where I was concentrating on taking pictures I figured 5 rolls a day would cover me.
That’s 15 rolls for a 3 day trip but I added an extra 5 rolls just in case things got crazy. So I came armed with 20 rolls of HP5 for the trip.
I ended up shooting just over 13 rolls while in the city so I brought way more than I needed. Better safe than sorry though!
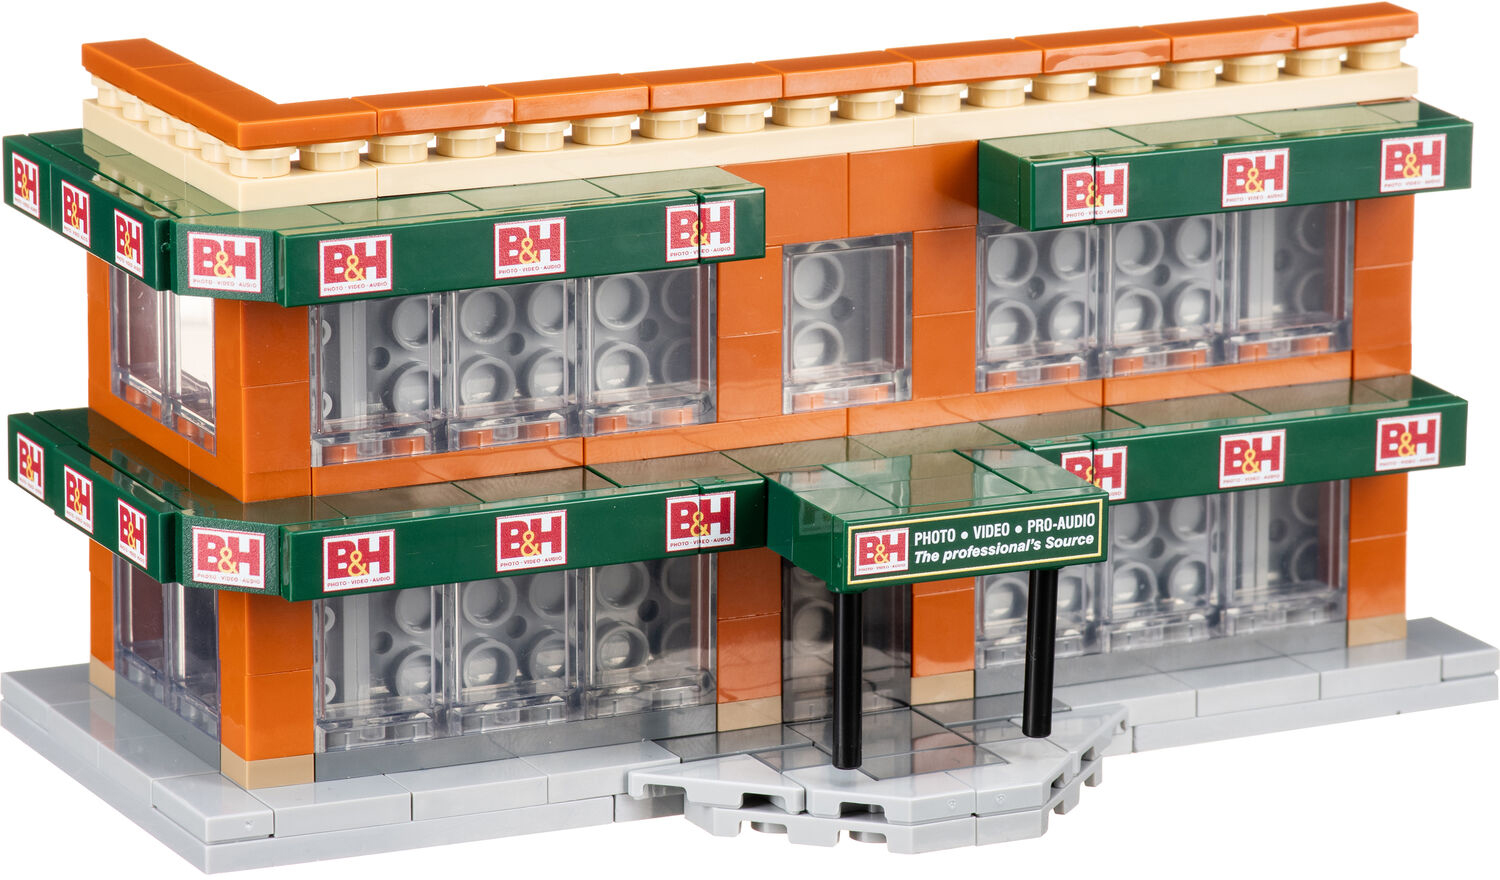
If you happen to run out of film in NYC you could always get some more at the B&H Superstore on 34th and 9th. As long as you don’t run out film on a Friday afternoon or Saturday. B&H is closed at 2 pm on Friday and all day Saturday.
4 – Bring A Tiny Umbrella

A tiny umbrella is a street photographer’s best friend no matter where you’re shooting. The last thing you want is to be caught in a downpour – especially considering most film cameras are not moisture resistant in any way.
But my NYC film photography trip happened during the hottest weekend of the summer with temperatures in the mid 90s each day I was there. The sun was beating down omy when I realized this tiny umbrella was also a parasol that provided instant shade no matter where I was standing!
And it was delightful!
The Fulton Tiny 1 Umbrella pictured to the right fits perfectly in the front pocket of my Billingham Hadley Small but any small umbrella that fits in your bag will do the same thing. Don’t leave home without it!!
5 – Pools Of Light
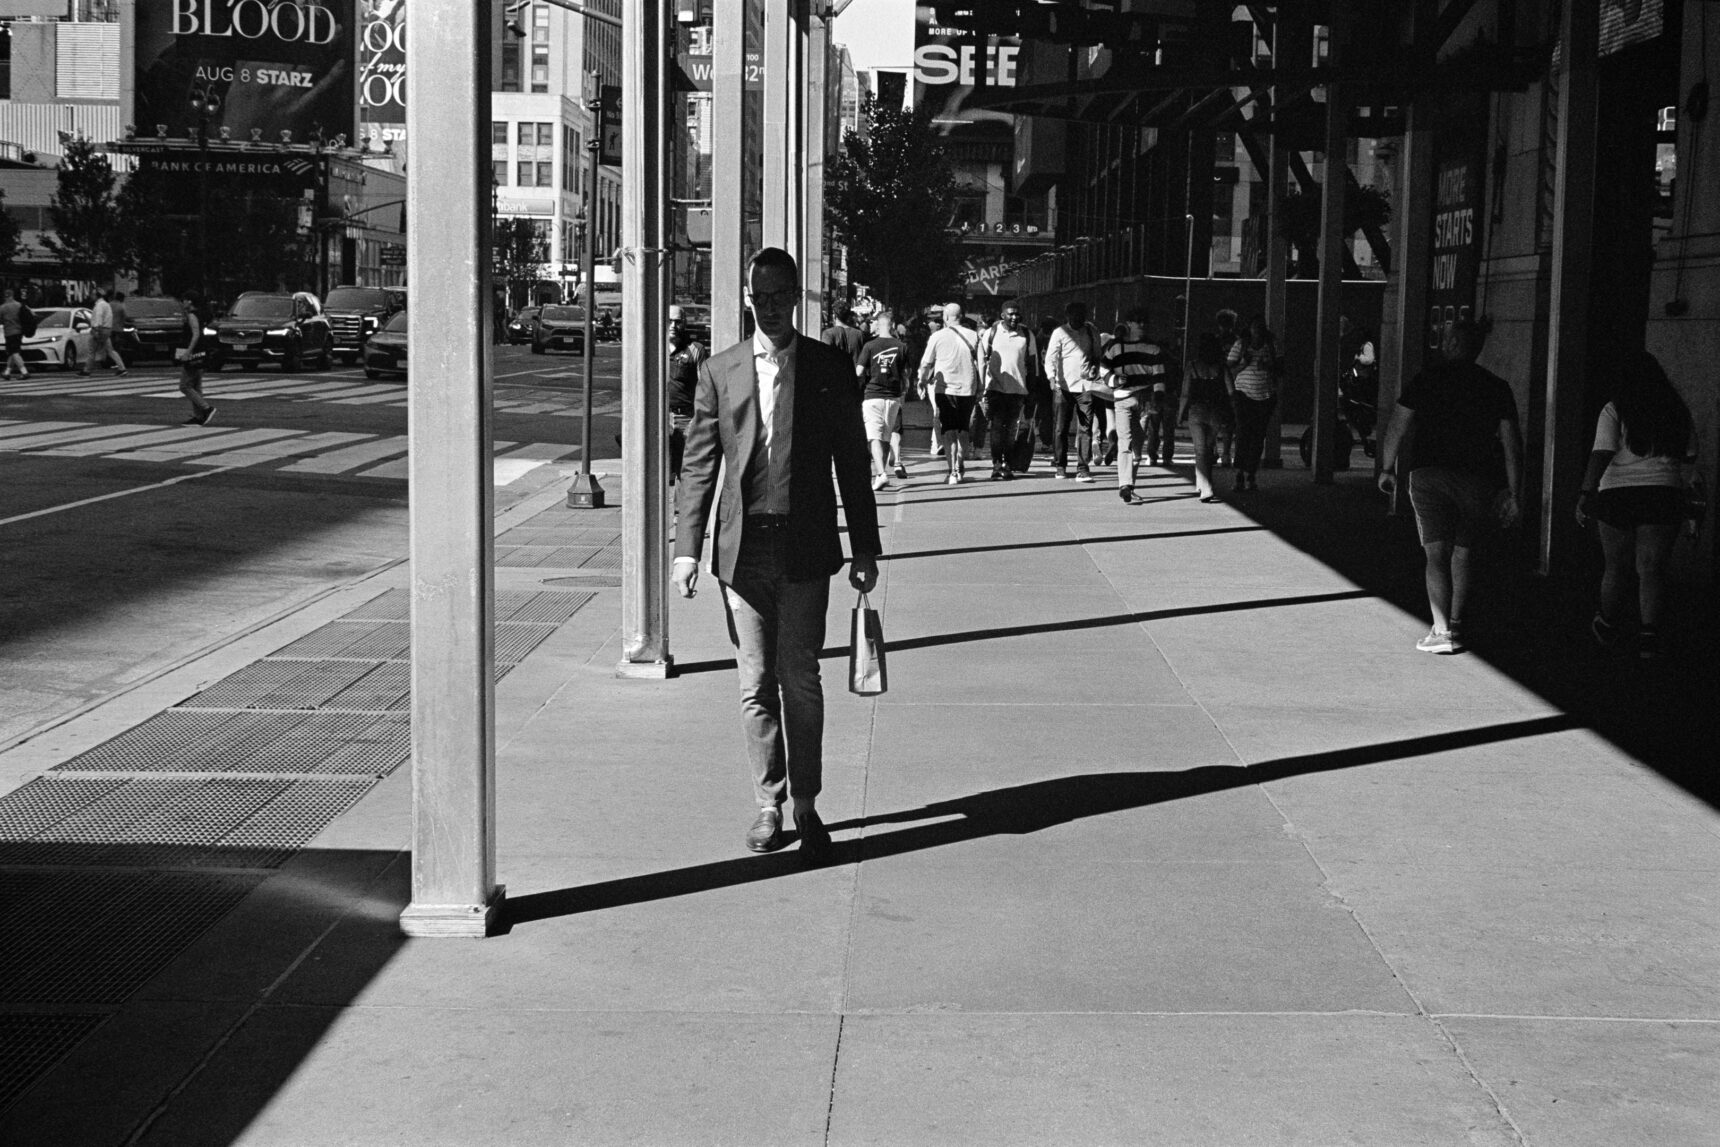
You hear a lot about the “quality of light” in New York City. But it’s not something that’s everywhere all the time. You still have to look for it.
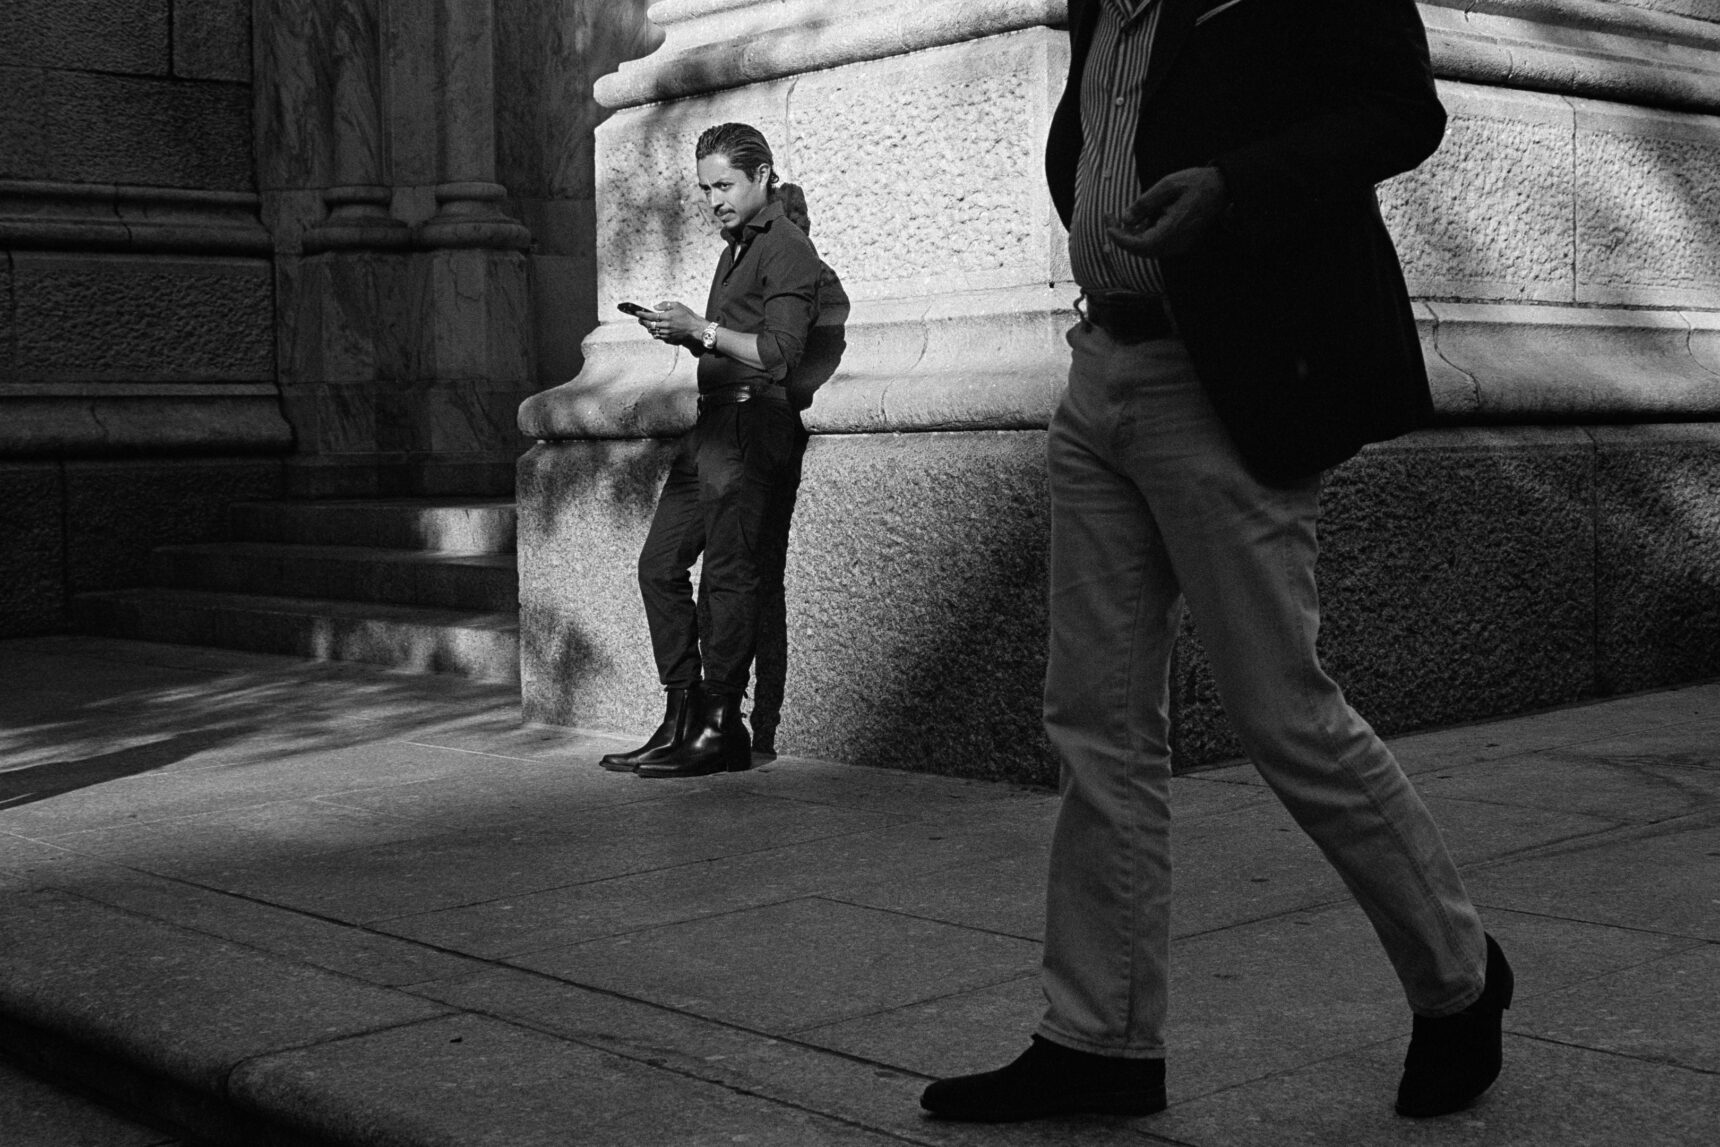
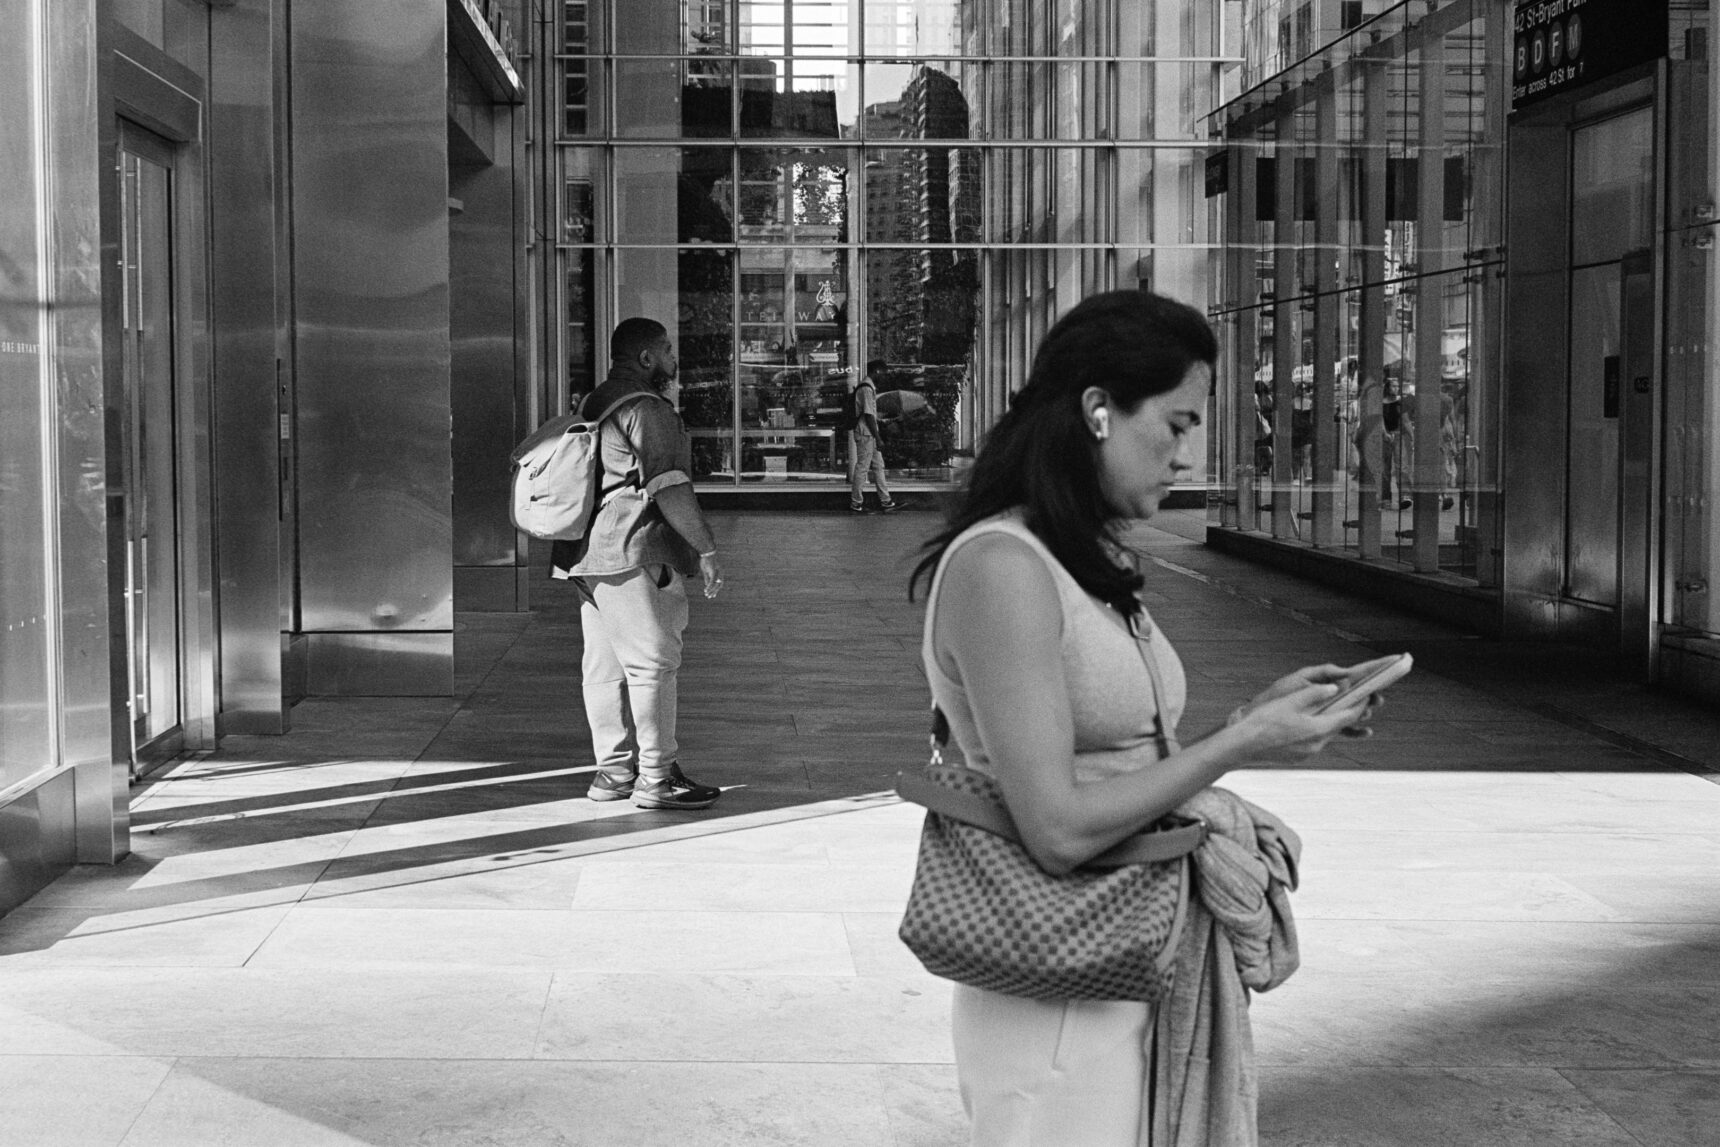
I was in Manhattan in early August and I found that by around 4 pm (when the light is getting nice) the sun was low enough in the sky that most sidewalks in MIdtown were in full shadow. Which is fine if that’s the kind of thing you like. But I like epic late afternoon sun so things became a little tricky.
I found that certain intersections would allow just enough light to creep through the buildings to create pools or patches of light. There might only be 10 to 20 yards of side walk real estate illuminated so it’s not a lot of room to work. But damn! The quality of light in those 10 to 20 yards was sublime!
I ended up following these pools of lights as I charted my way through the city streets. Stopping and shooting for a bit if things looked interesting before moving on to the next magical sliver of late afternoon sun.
In all fairness this is pretty much the way light acts in every large city. But seeing it in this way has given me a fresh new perspective on shooting… As important as the light is at any given place, there’s always another pool of beautiful light waiting to be discovered. You just have to look for it.
I like it!
6 – Early To Rise
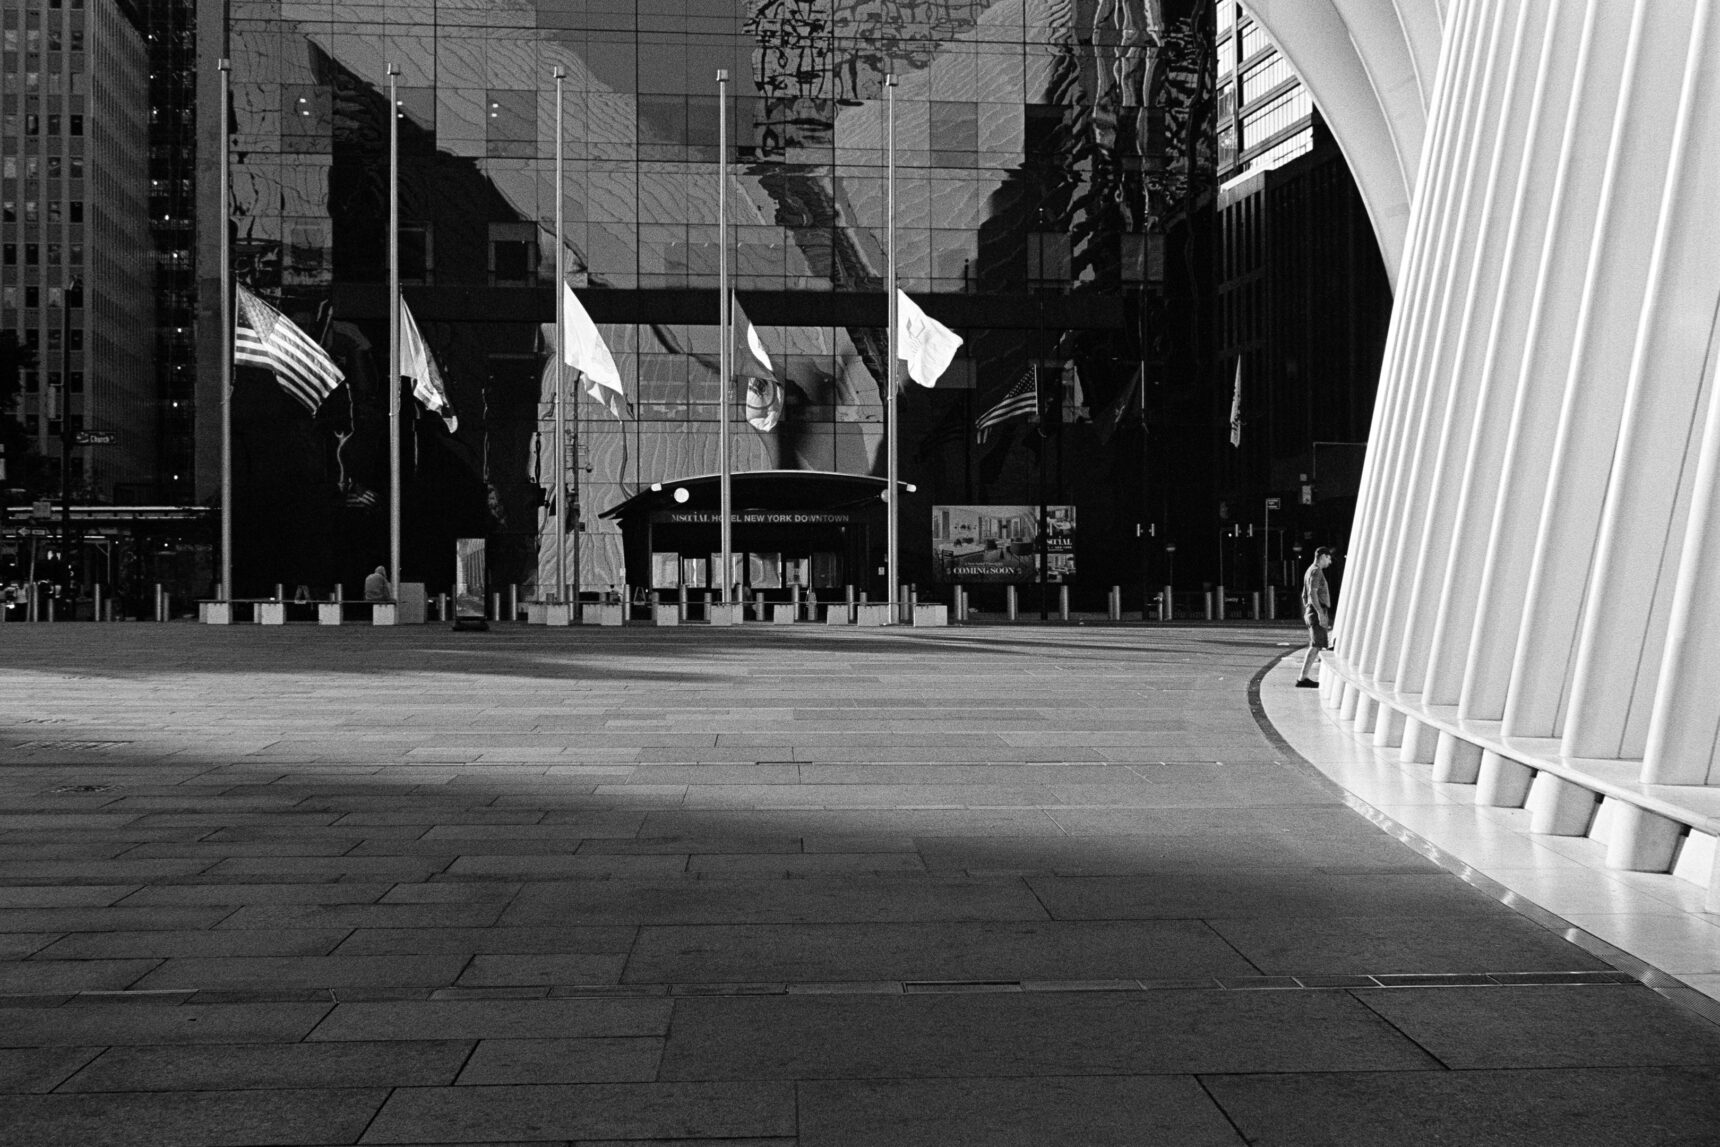
I’m the kind of shooter that finds the light first then sees if anything interesting is happening there. This doesn’t mean that I don’t take pictures if the light isn’t right. But like Trent Parke I’m attracted to the light first. It’s my launching point.
For me, the best light happens in the late afternoon and first thing in morning. Late afternoon is always my first choice but I was shocked to discover how much I loved shooting at sunrise in NYC. Seeing the sun come up and creep onto the buildings gave me an interesting and fresh perspective on the city.
It’s amazing what discover before most people have even rolled out of bed!
7 – Always Be Shooting (Even When You’re Not)
I walked close to 50 miles during my 3 day NYC film street photography trip. I’m not exactly spring chicken so I took plenty of breaks when my legs were complaining. But even when I’m sitting on a bench and drinking a bottle of water, my camera is around my neck and I was looking for subjects.
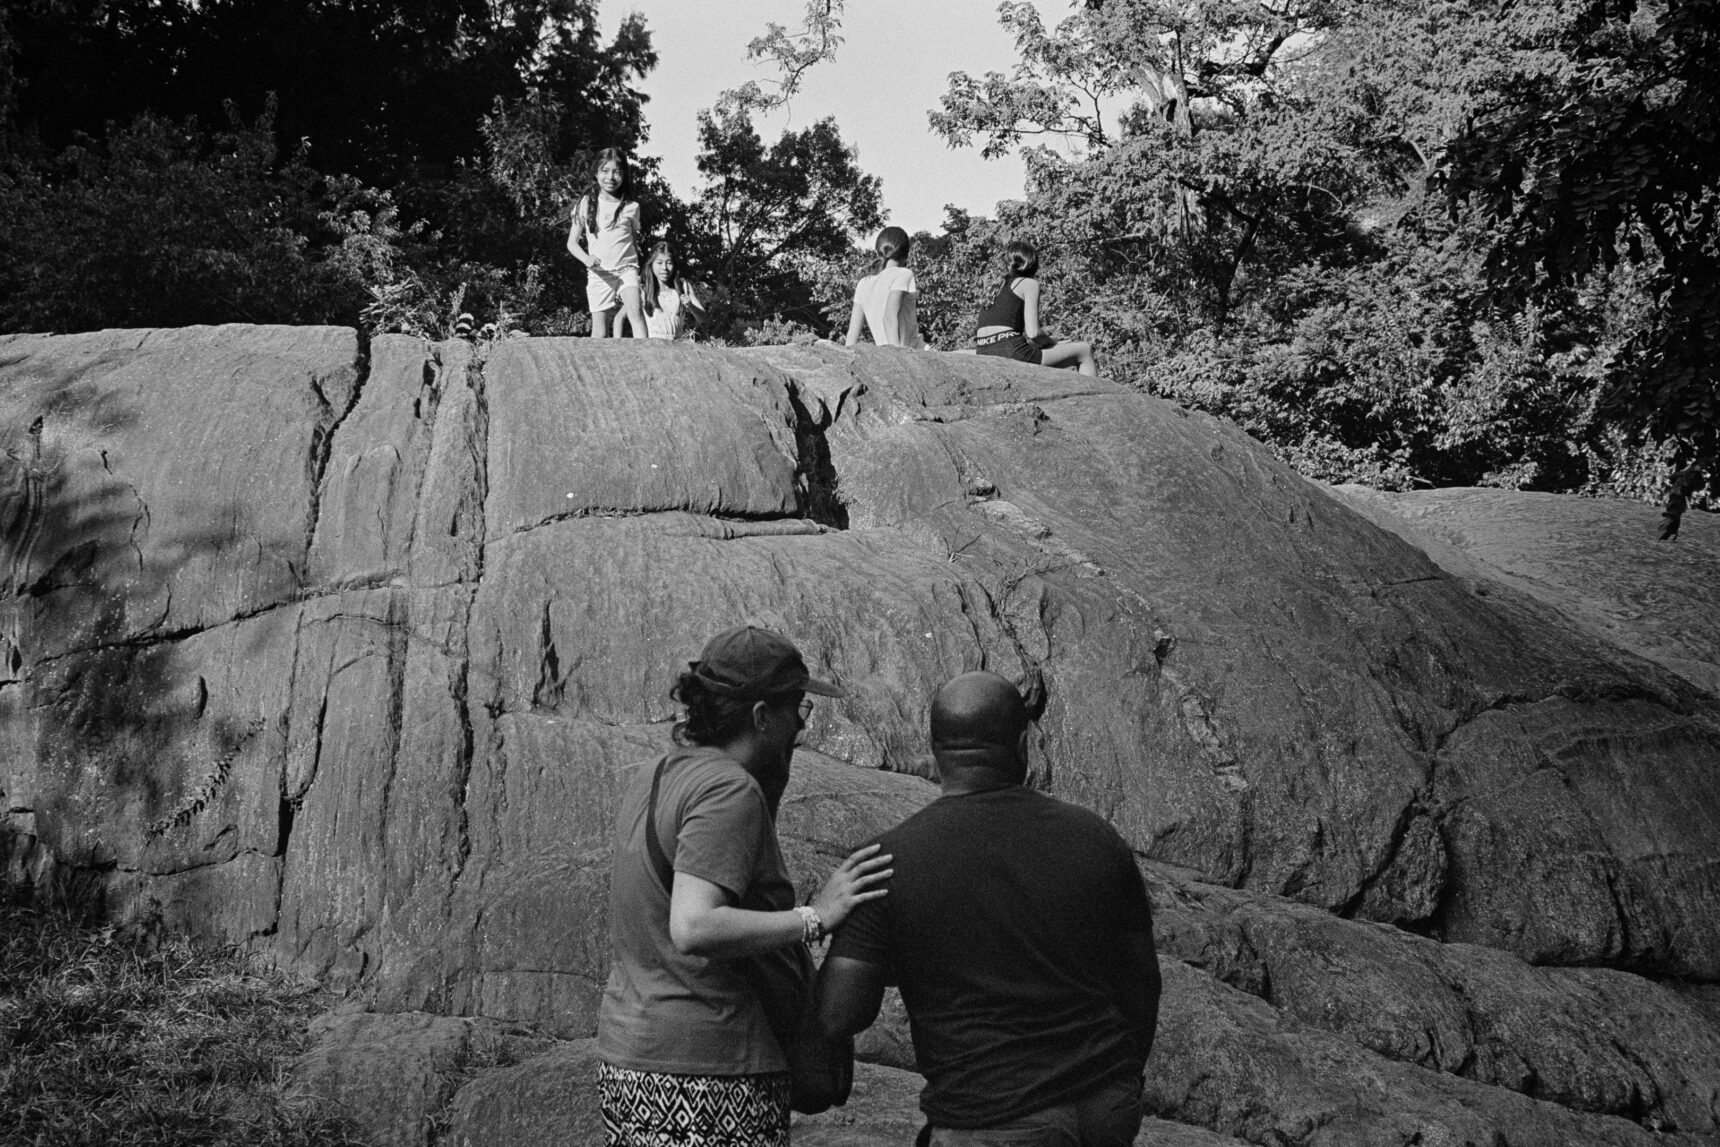
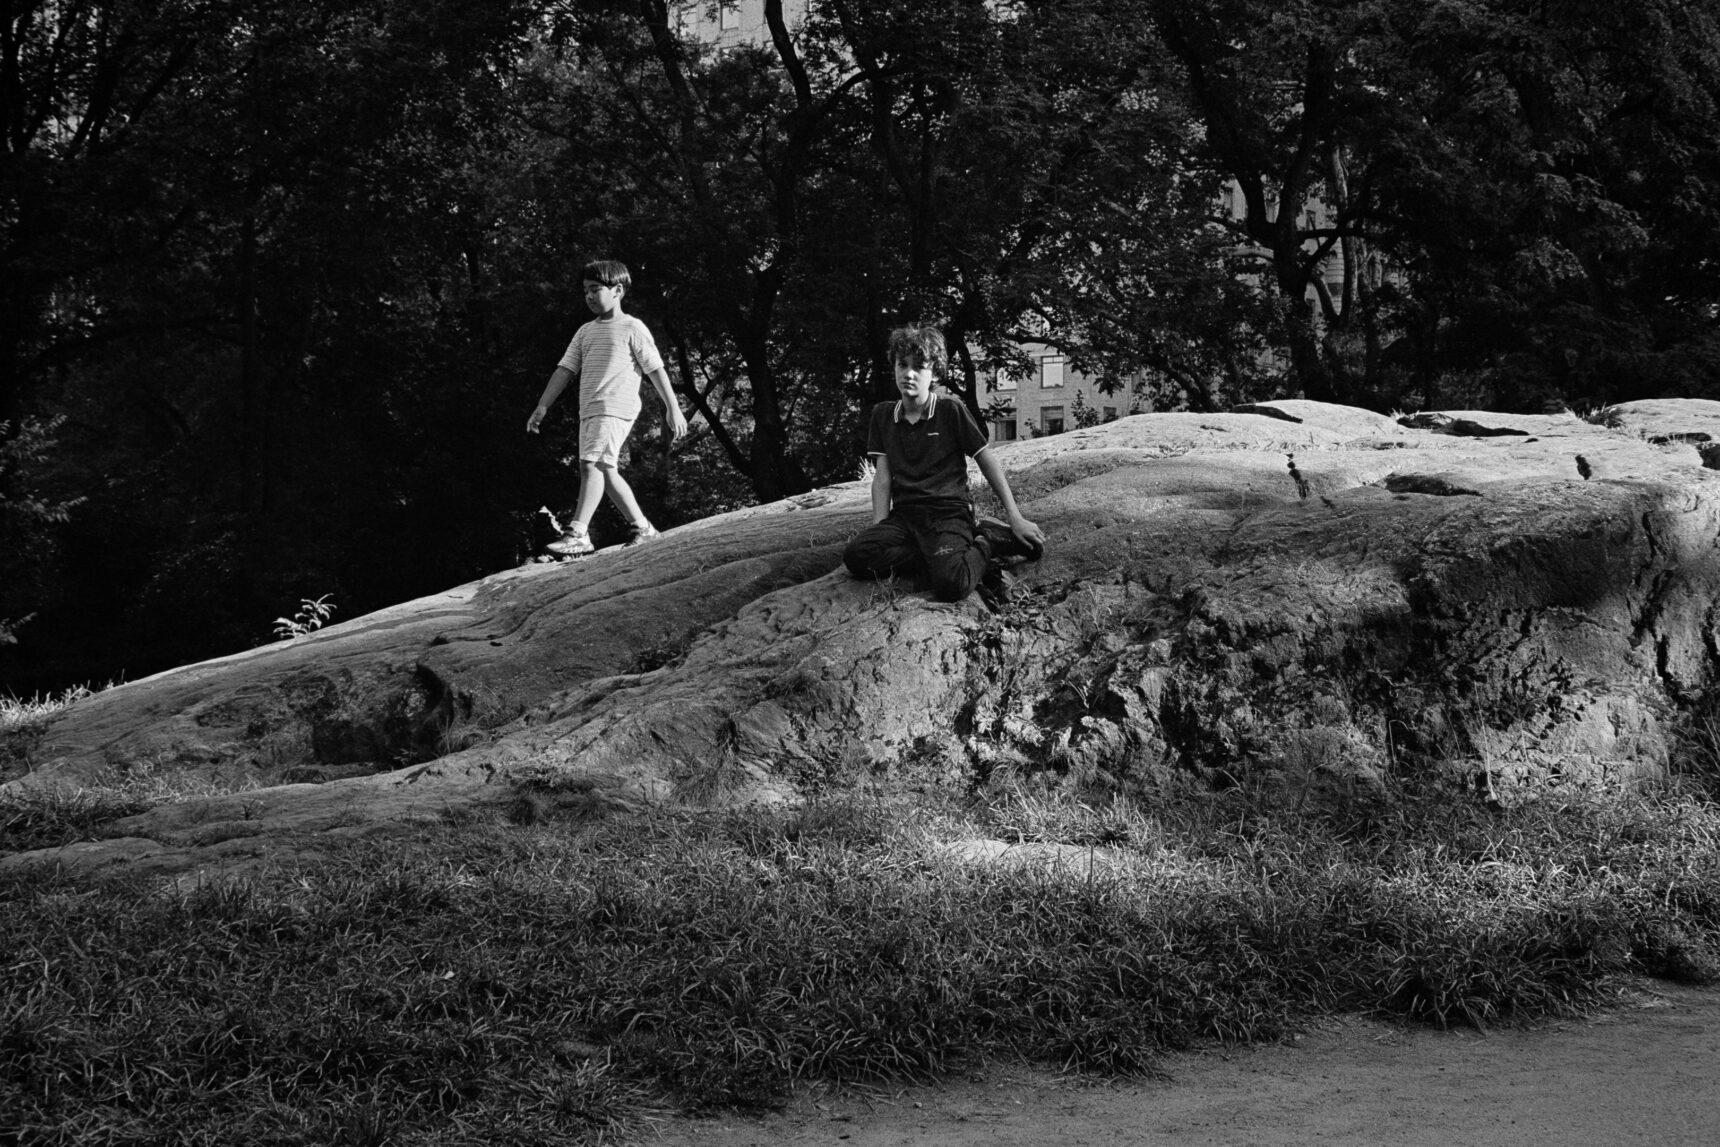
For example, I popped into Central park on Saturday afternon to rest my weary bones. I had to walk into the park a bit to find a bench and the second I sat down I noticed some kids playing on a rock. I snapped a few shots before moving to a different bench to get a new perspective then kept shooting.
A quite like a couple of the shots from that little park visit so there’s an important lesson here. These are images I would have missed if I had kept walking. And they’re images I would have missed if my camera wasn’t ready to take the shot as I was parking my butt on a bench in the park.
Always be shooting!! Even when you’re not.
8 – Shoot More Think Less
This might sound counter-intuitive but I think it’s important to turn off the thinking portion of your brain when you’re shooting in a new city. Especially one as dynamic as NYC!
Now is no time to start thinking through every photographic desicion and second guessing the meaning of your shots. Just set your brain to “shoot” and see what you got when you get home. Trust your subconcious to guide the meaning and exist in the photographic moment.
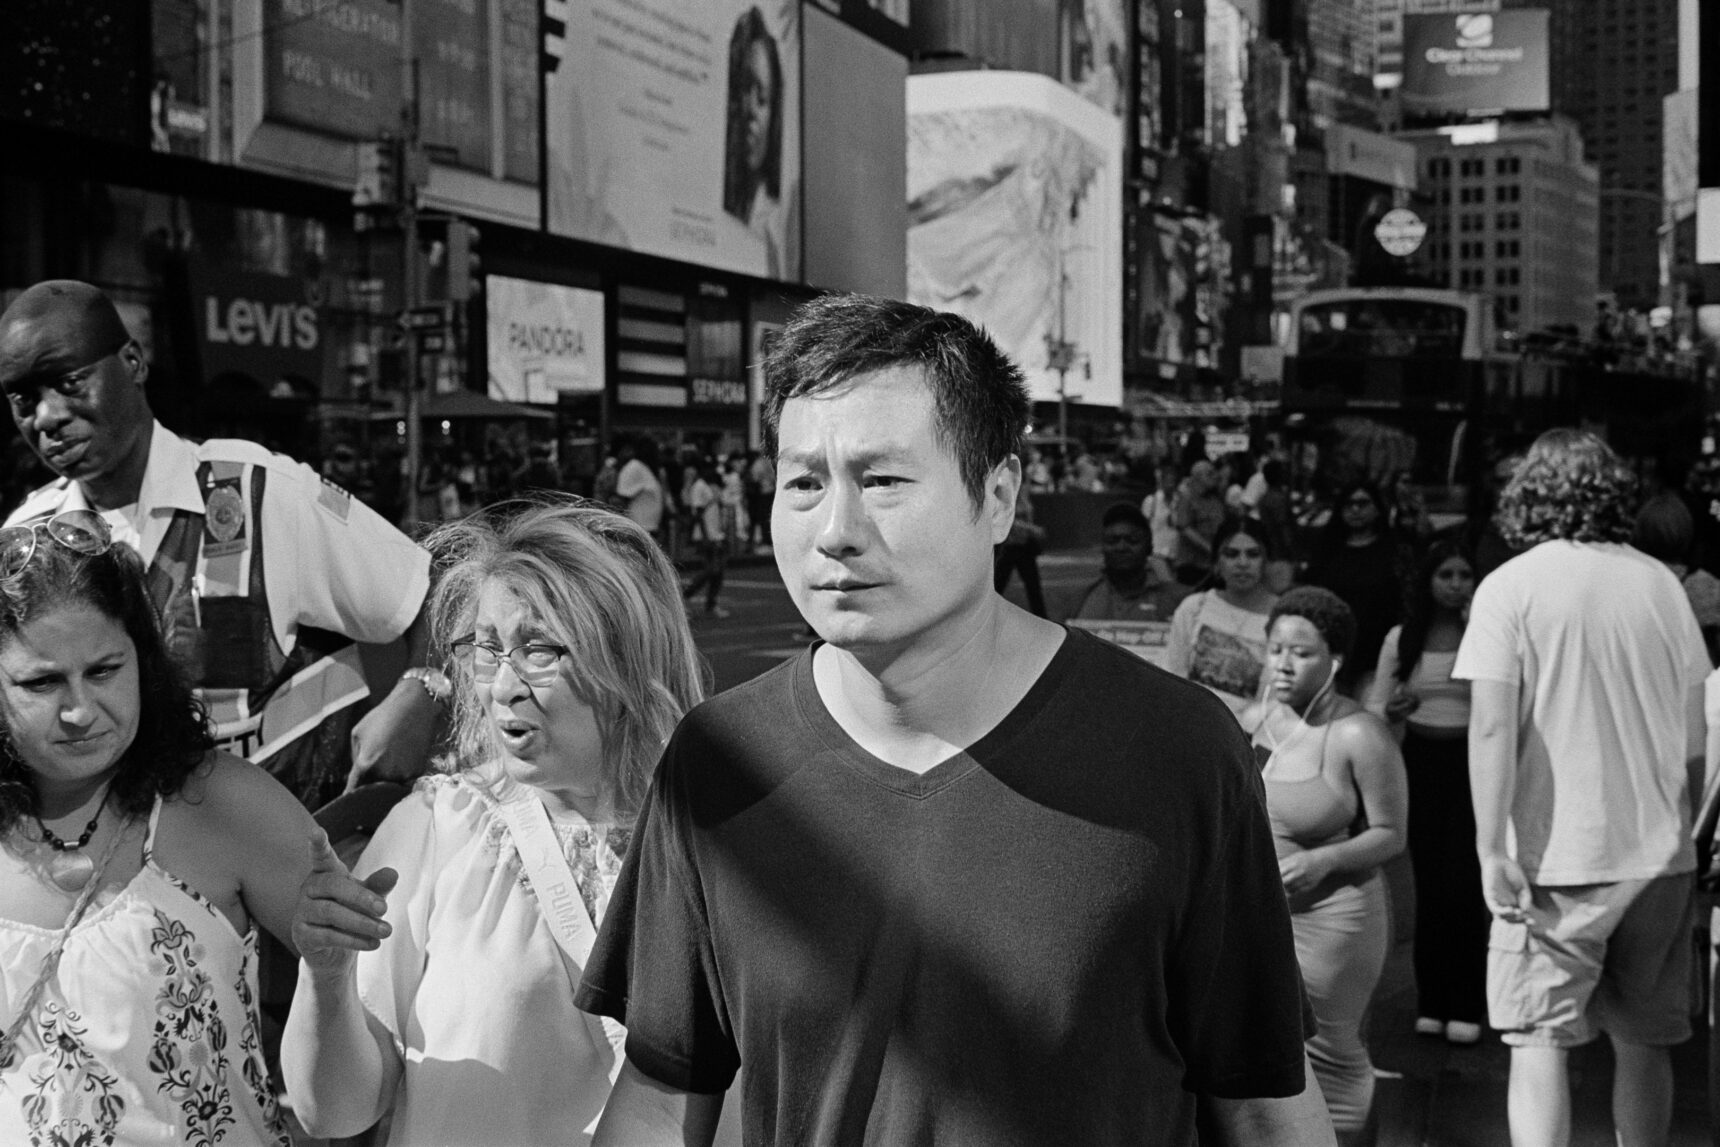
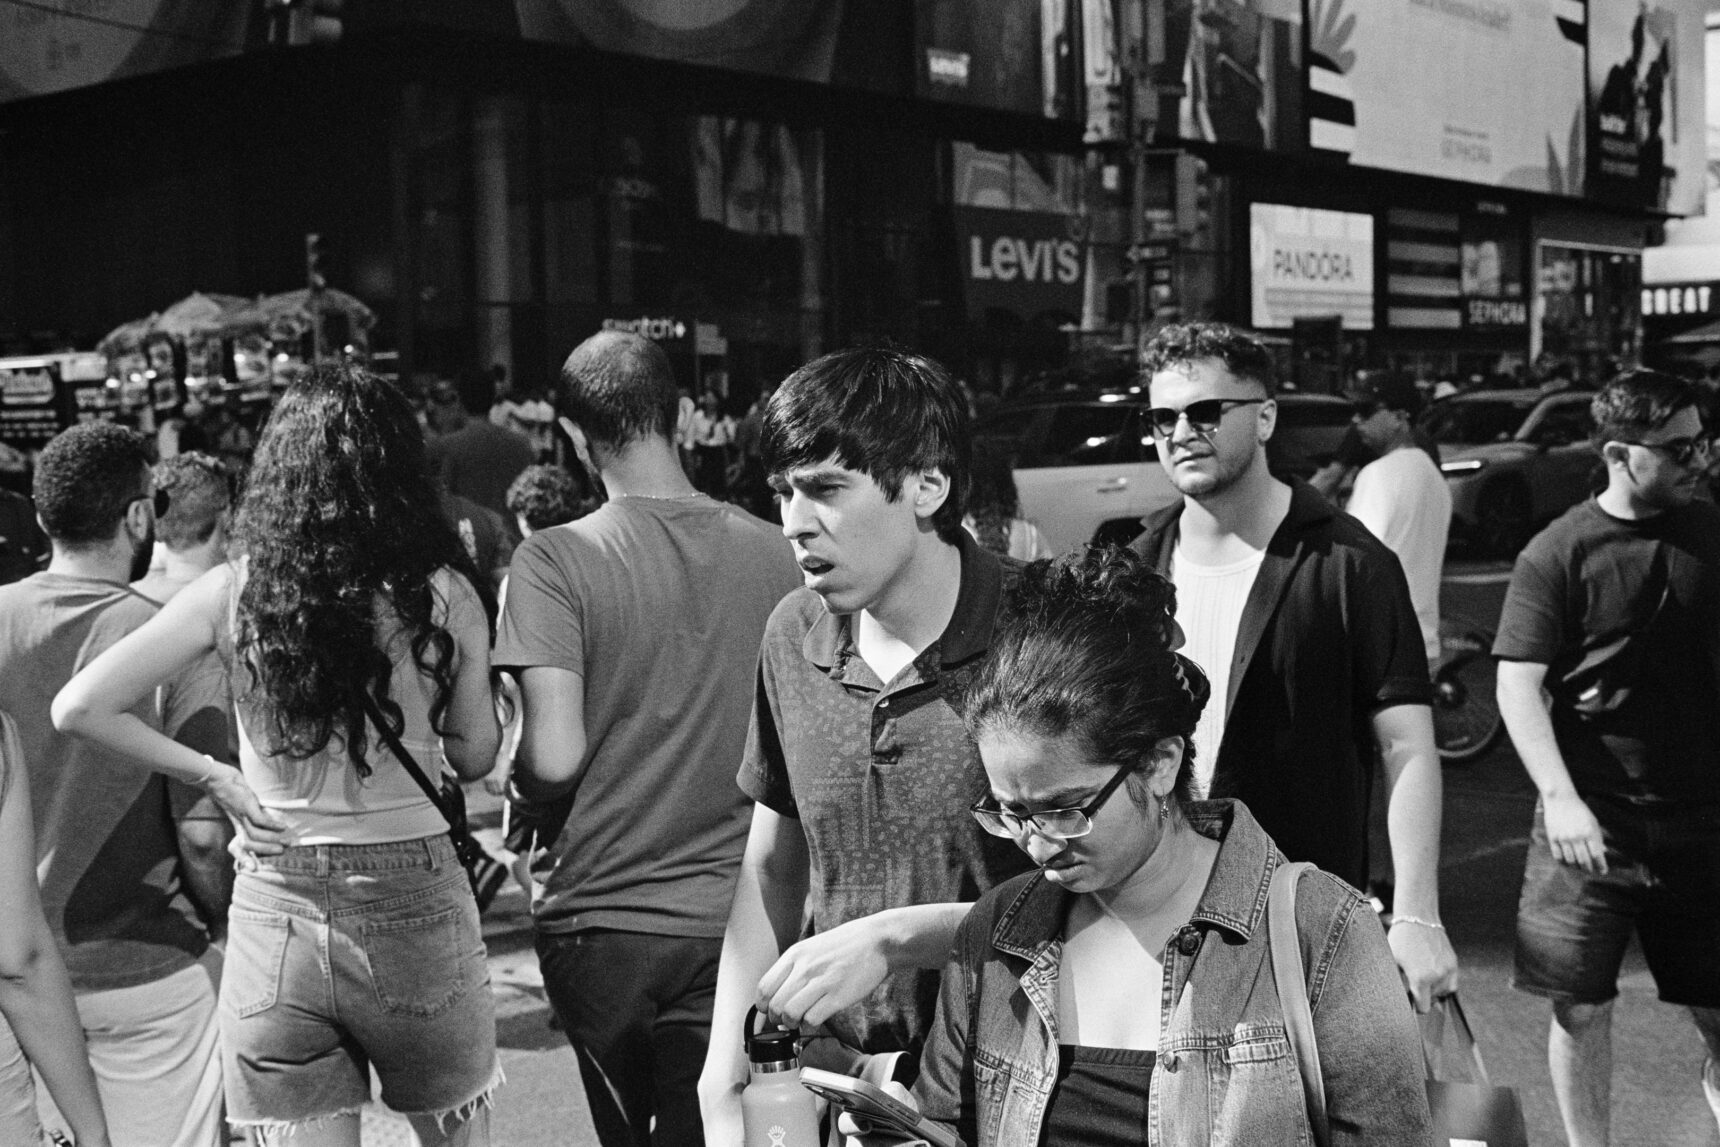
On this trip I came home thinking that I didn’t shoot anyting but a bunch of shots of people walking toward me as I walked down the street. But when I got home and scanned my images I discovered all these little juxtapositions and unusual shots. Things that weren’t exactly planned for so much as reacted to in the instant.
You have to trust everything that lead you to this point. Trust your vision, be on the look out for interesting photos. And let the rest take care of itself.
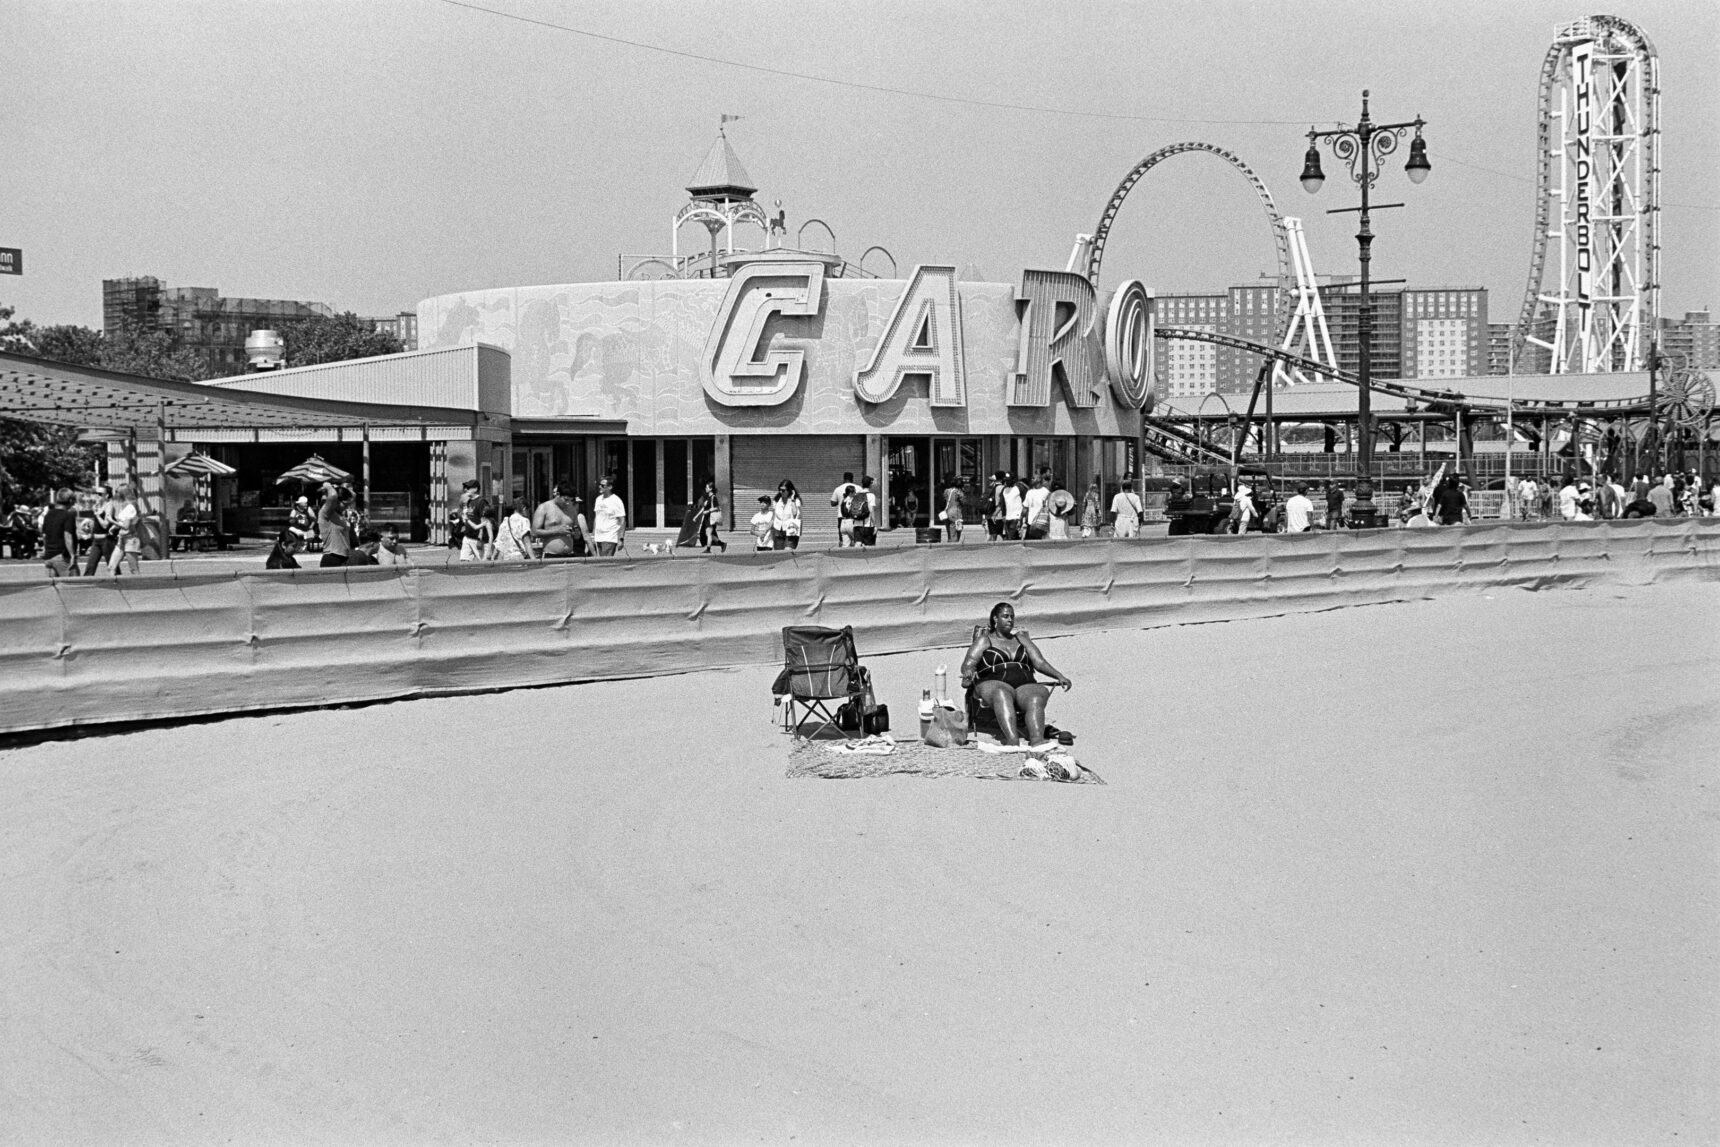
9 – Take The F Train To Coney Island
There’s plenty to see in midtown Manhattan but anyone who’s watched a Pauli B video knows that NYC street photographers love shooting in Coney Island. And I can see why…
It’s street photography gold, baby!
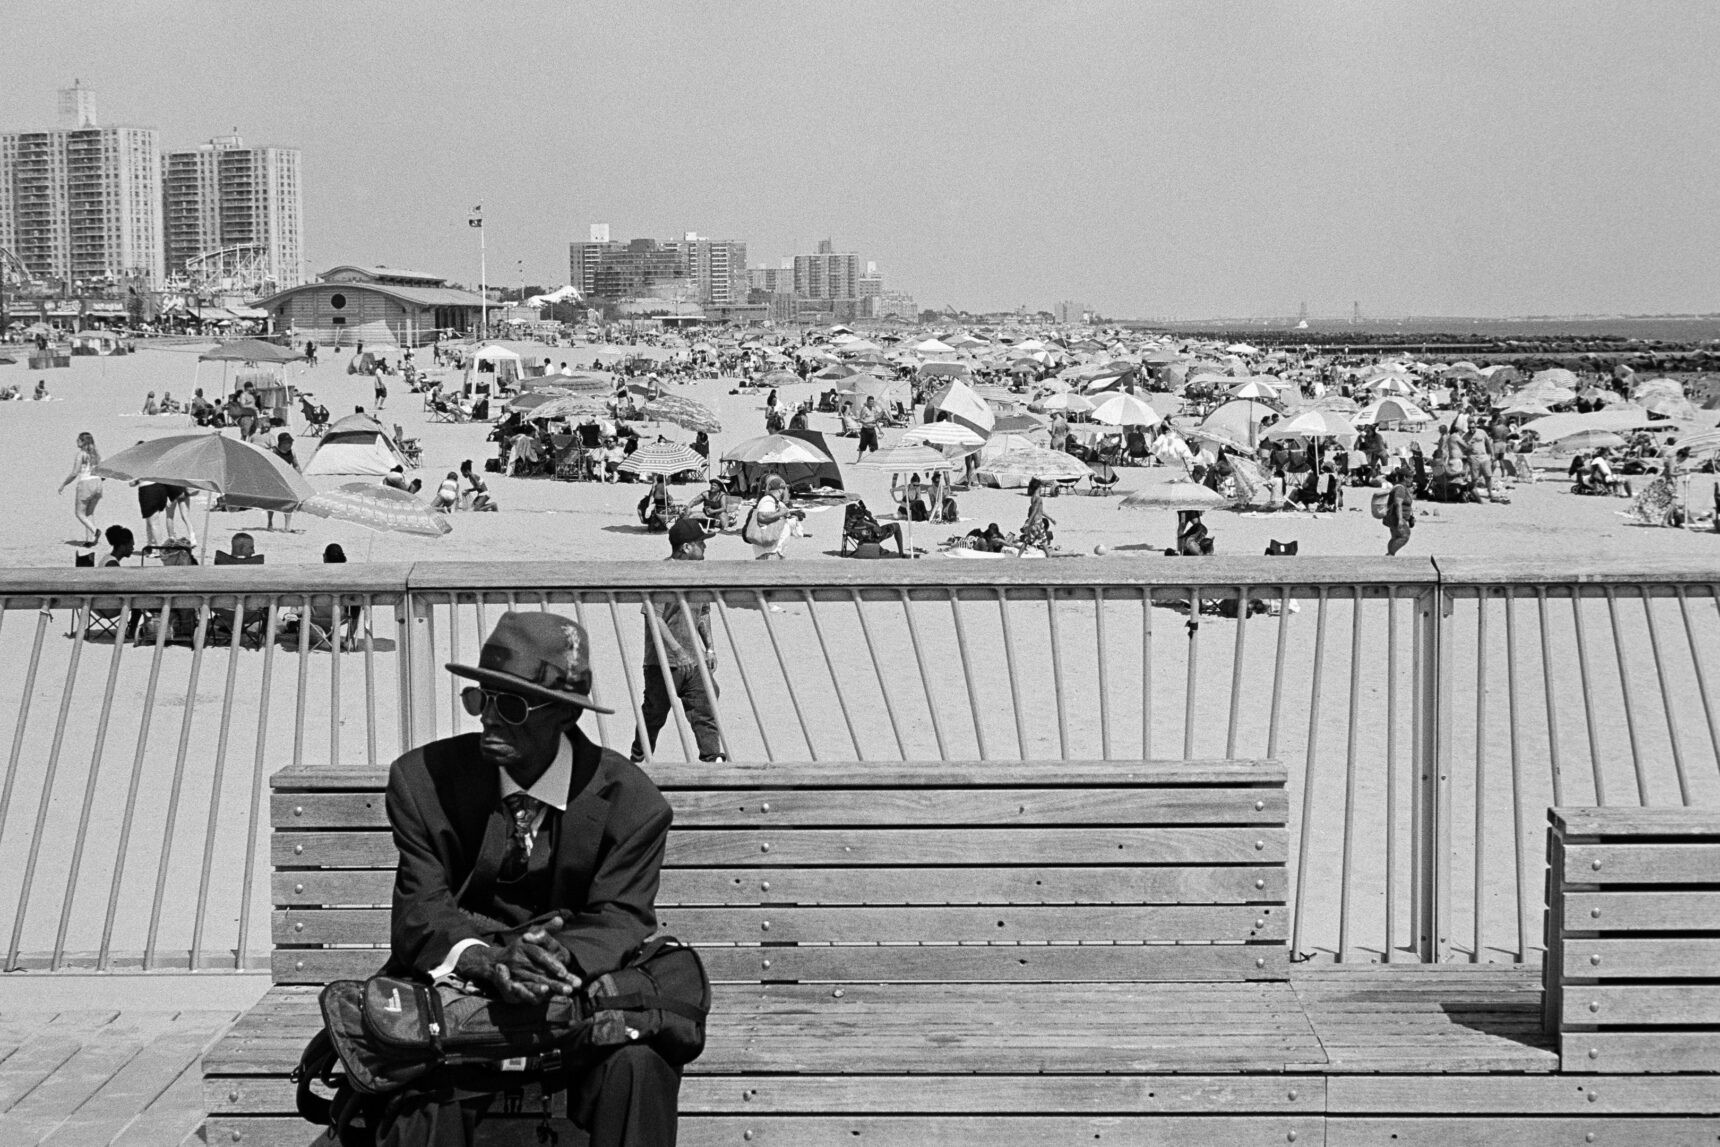
NYC is a cavernous place where the people always seem to be going somewhere in a hurry. But Coney Island is filled with wide open sky and all those people at leisure. Everyone is taking a breath and enjoying the moment and this created a great environment for shooting street!
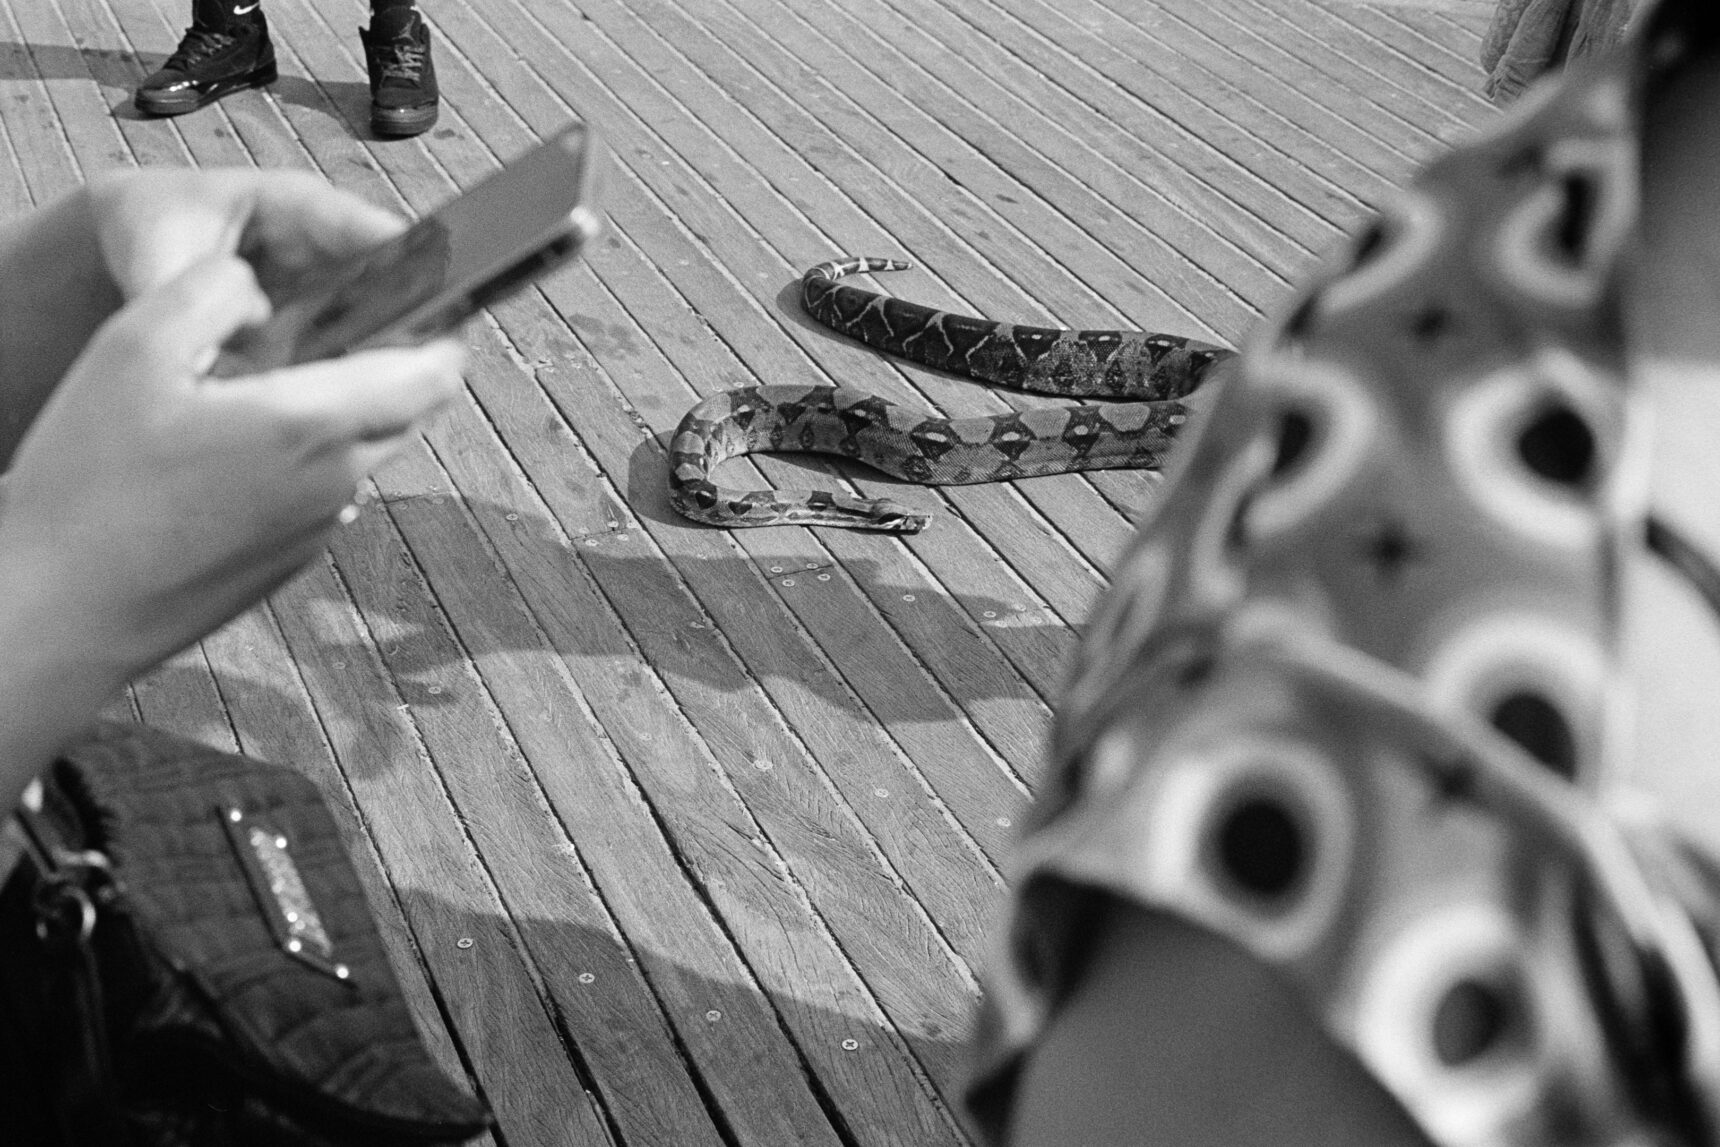
Just hop on the subway and take the F Train and you’ll be in Coney Island in about a 45 minutes. Walk out of the subway station and cross the road and you’re right in the middle of the action. There’s an aging amusement park that has a ton of character (but I was warned by security to not take any pics in the park itself). And then the legendary boardwalk and pier.
I spent the afternoon sauntering along the boardwalk then then up to the end of the pier and back again. There was the usual assortment of characters plodding about plus people swimming or sunbathing. But the best part was never knowing what was going to appear in front of me next. This brought a sense of curiosity and discovery to the afternoon and made shooting super fun.
I had a blast and shot just over 5 rolls of film before heading back into the city.
If the weather is nice and you have a free day on the weekend then do yourself a favor and do some shooting in Coney Island.
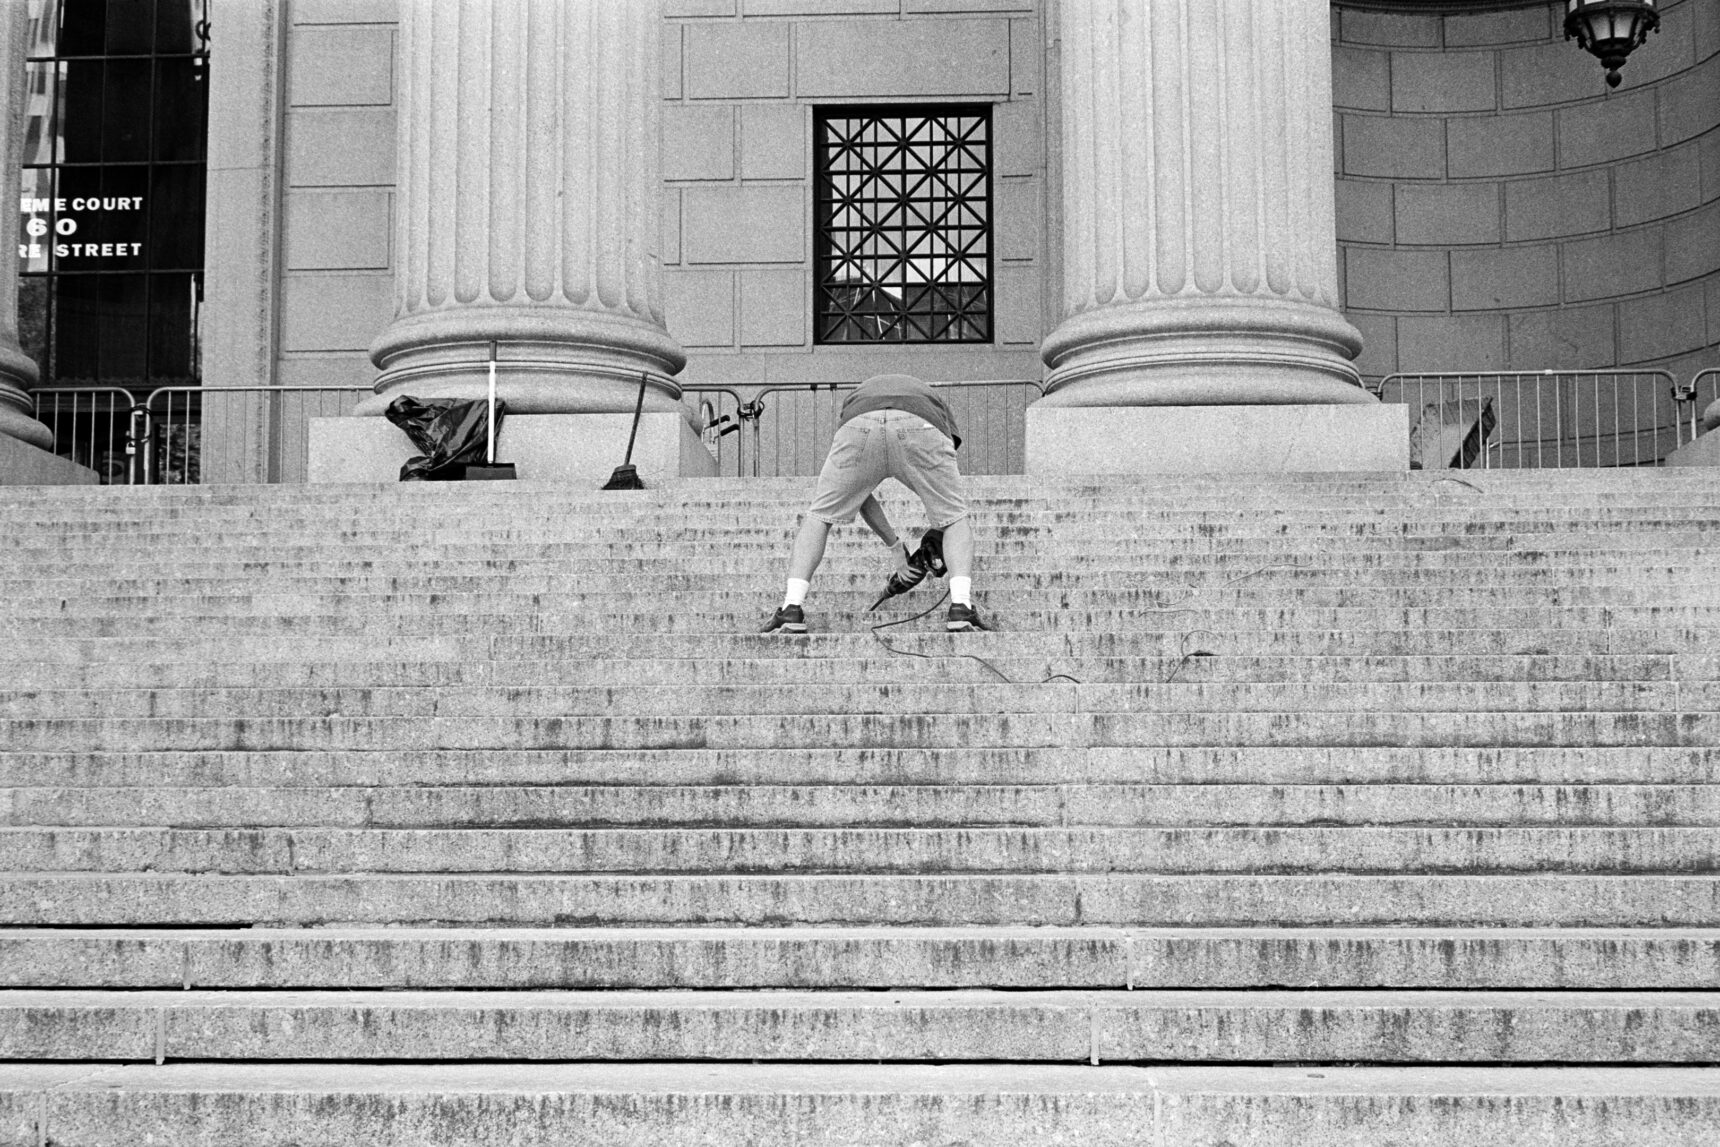
10 – NYC Is A Working City
It’s important to remember that New York City is a working city.
It exists outside the tourist bubble and in spite of the fact that there are a TON of tourists everywhere, most New Yorkers have more important things to worry about. It’s important to be respectful of the natives and try not to get in their way. But honestly, even if you did they’d probably just shrug you off and going.
The other side of this coin is that people don’t tend to care if you’re taking pictures. Now, I’m not talking about getting in people’s faces Bruce Gilden style. But generally speaking I could shoot whoever I wanted on the street and even if poeple noticed my camera they had somewhere to get to or something to do that was more important than some idiot photographer taking a picture.
I’m not saying you won’t run into issues. Confrontation is an occupational hazard of being a street photographer. But it really felt to me like I could shoot anything.
With practical limits, of course!
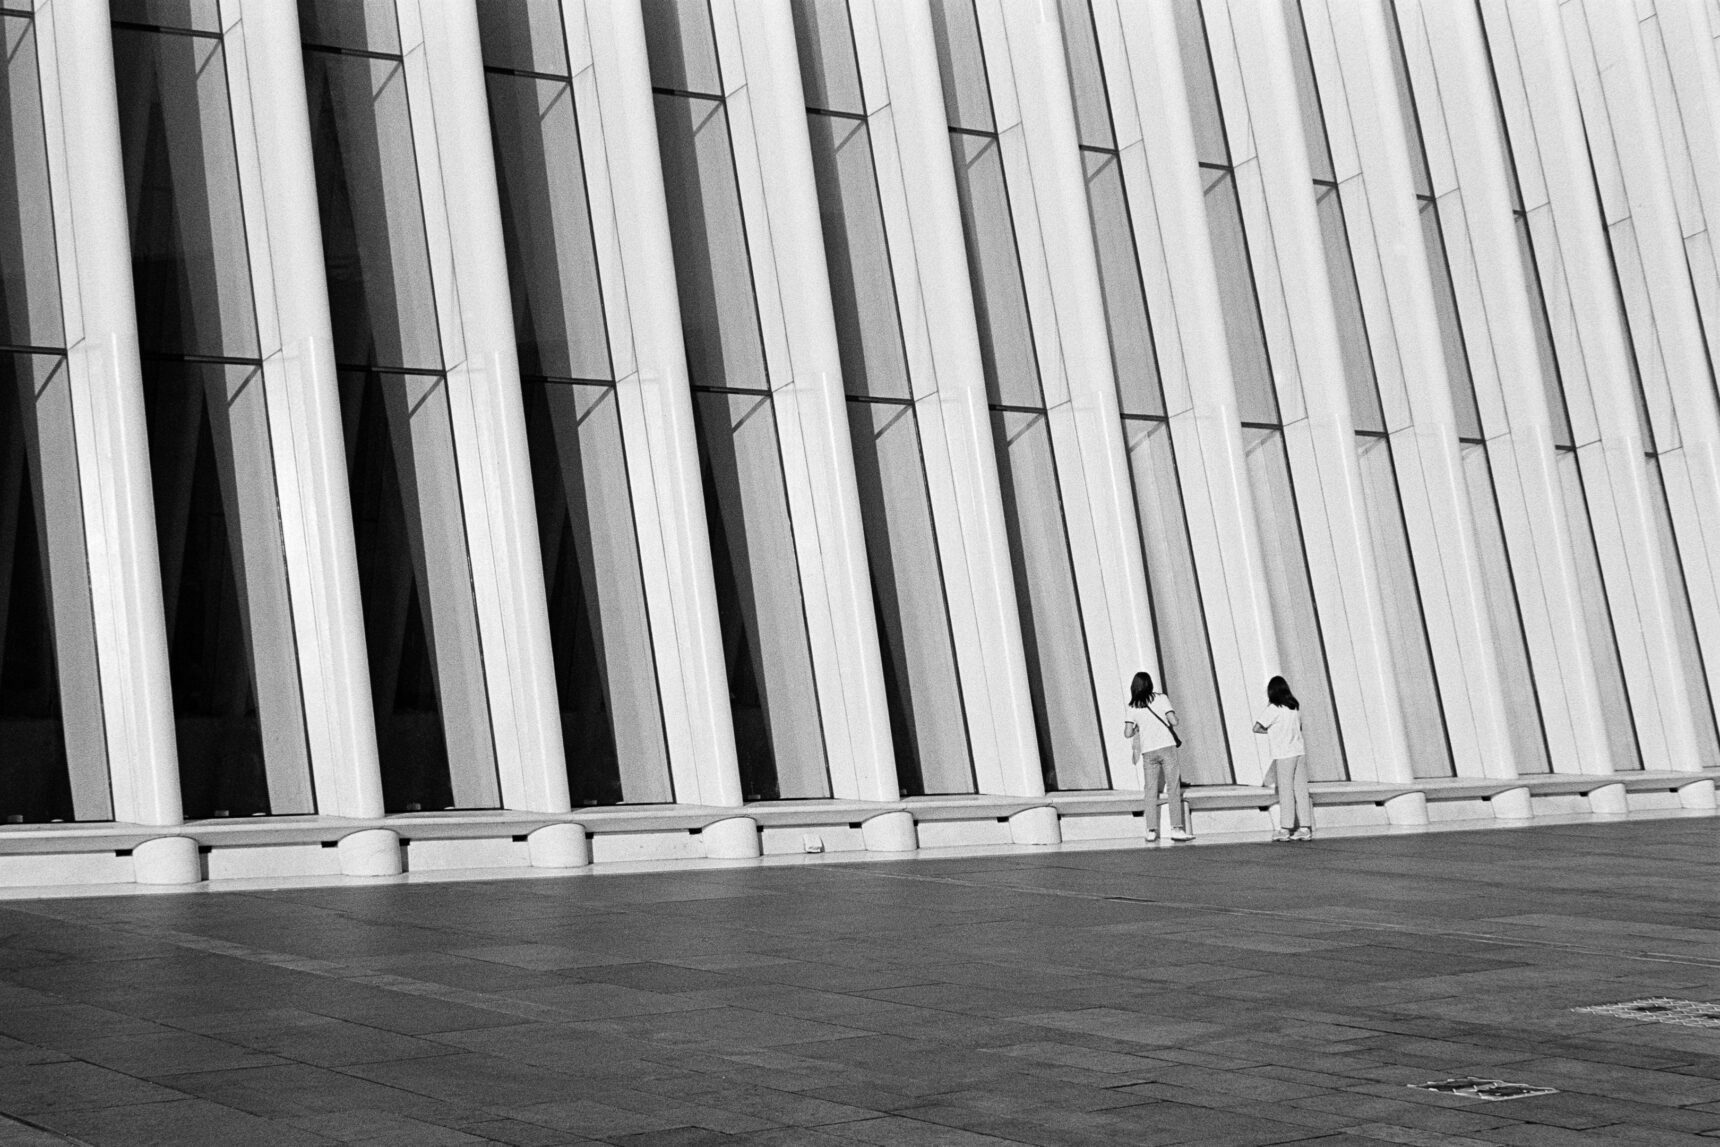
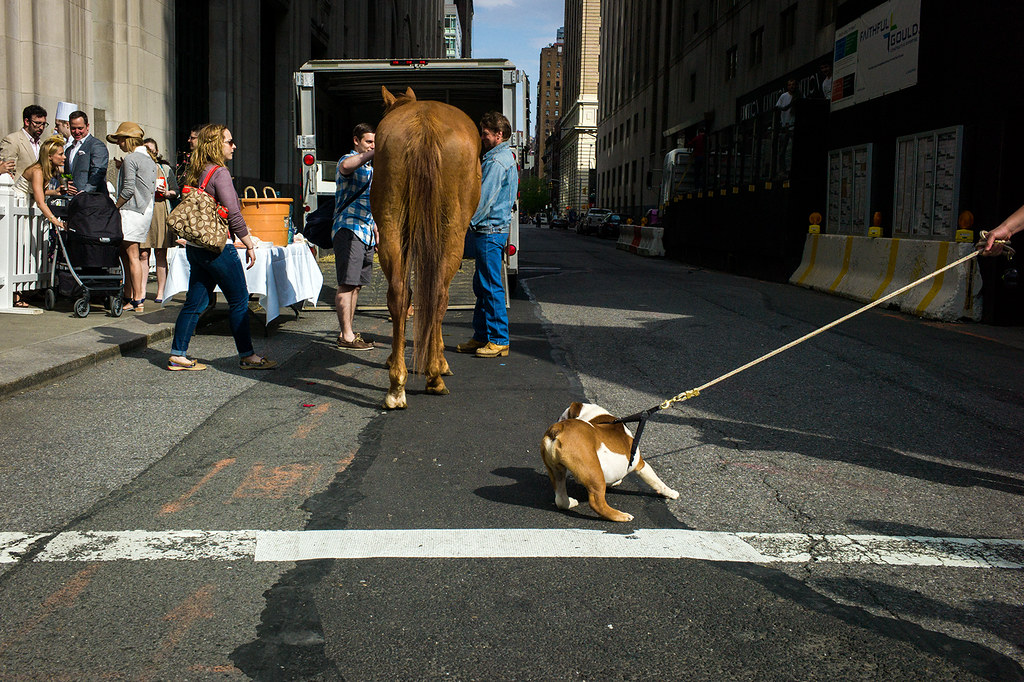
NYC Film Street Photography Gallery
All of the black and white images in this article were shot by me during my NYC film street photography trip. But here’s a few more shots that caught my eye!


The Last Word
I haven’t been to New York City since I attended a workshop with Alex Webb way back in 2013. I was shooting film on an M6 back then and planned to get everything for the workshop developed and scanned each day. But Rebecca Norris Webb (Alex’s wife) urged me to shoot digital if I was going to attend the workshop. That way I could spend more time shooting and less time chasing down negatives and scans.
So I rented an M9 from Lens Rentals and hit the streets. It was 2013 so that was pretty much my only choice!
The M9 was functionally comparable to my M6 and it was super easy for me to forget everything I loved about film in favor of the convenience of digital. I ended up switching to a digital M when I got back to Toronto and spent 10 years in digital hell.
Yup, I was seduced by the dark side. But this time? I was shooting film in NYC and nobody was going to stop me!
My only regret is that I didn’t have a bit more time in the city. I was only there for 3 days, so I limited myself to shooting for 2 days in Midtown before heading to Coney Island on the last day. If I had more time I would have explored a few more of the boroughs to see what there was to see. But that will have to wait until next time!
I can’t wait to get back!
What’s your take on my New York City film photography trip? Do you find any of my tips helpful in planning a future trip for yourself? Did I miss something important? Post your ideas in the comments below and keep the conversation going!